For my Intro to Fabrication class final, I was a bit lost. My first inclination is to do something that mimics the aesthetics of butterflies, but I wanted to do something functional instead. Making pretty things is cool, but making pretty things that have a function is even cooler.
The first direction I explored is making a wooden phone case for my iPhone 5s.
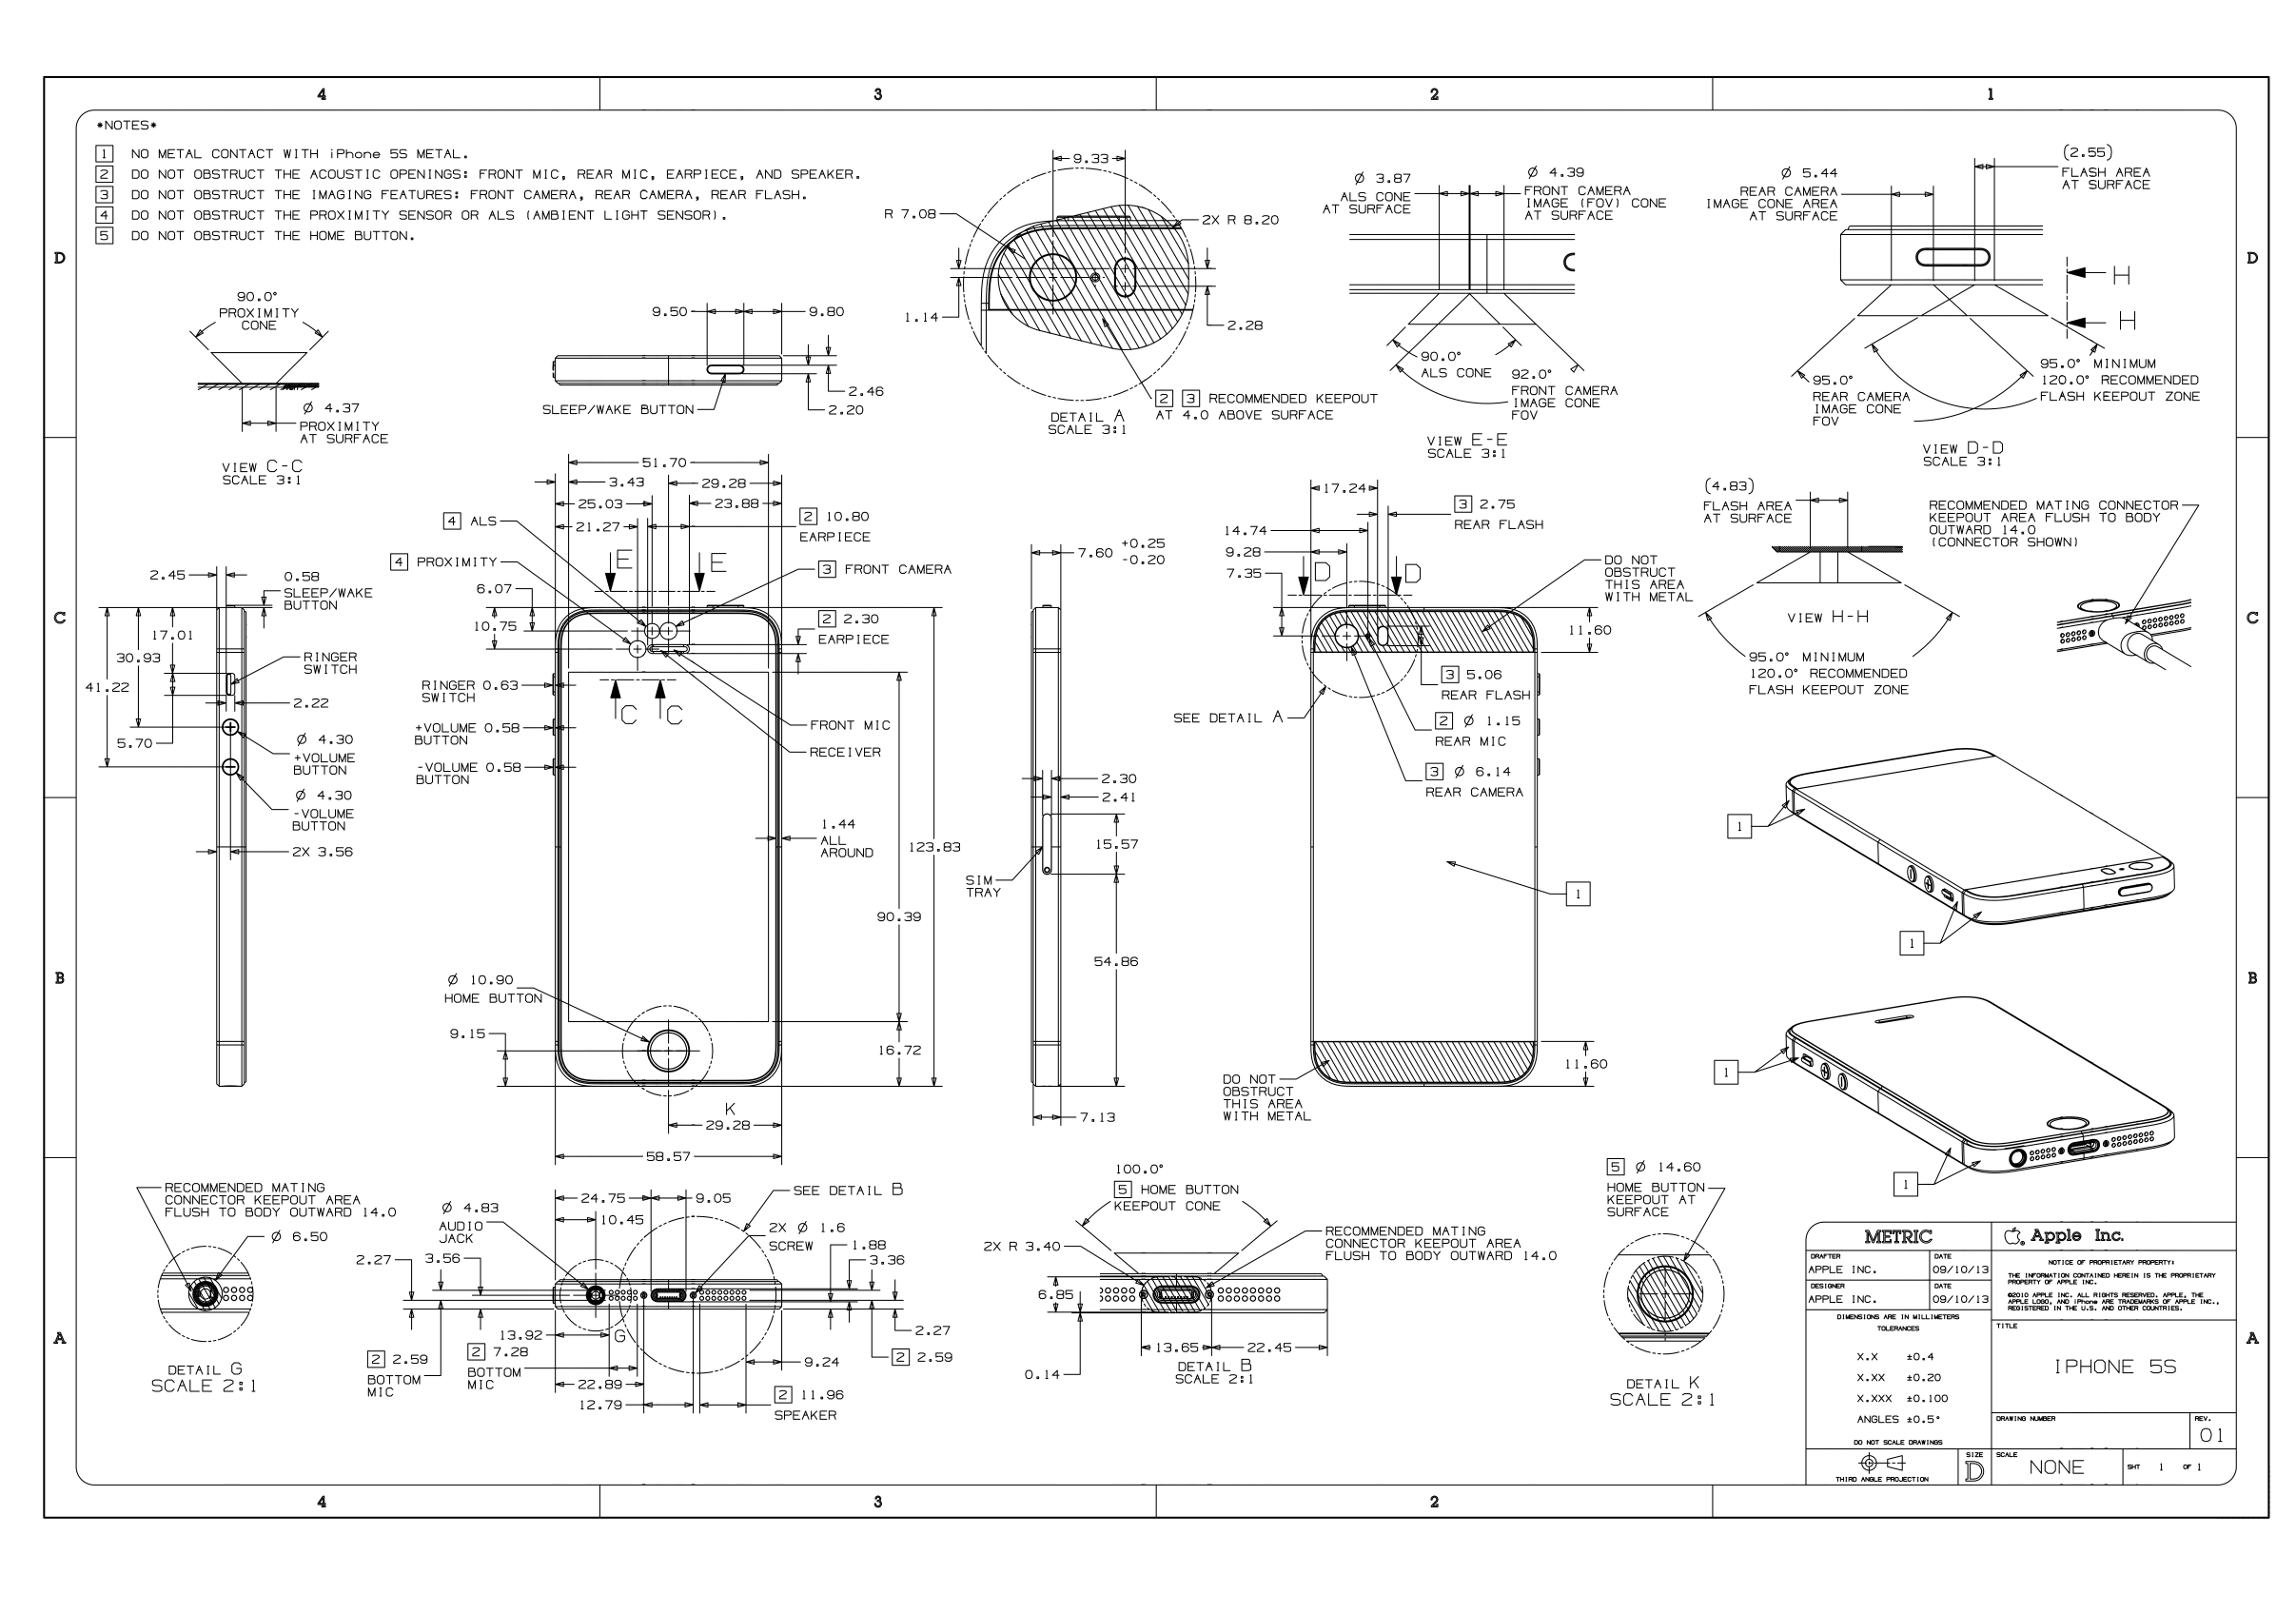 The first thing I wanted to know about is the dimensions of said case. After a bit of googling, I found out that Apple has a publicly available document that has exact specifications of all its iDevices, as shown in the image above.
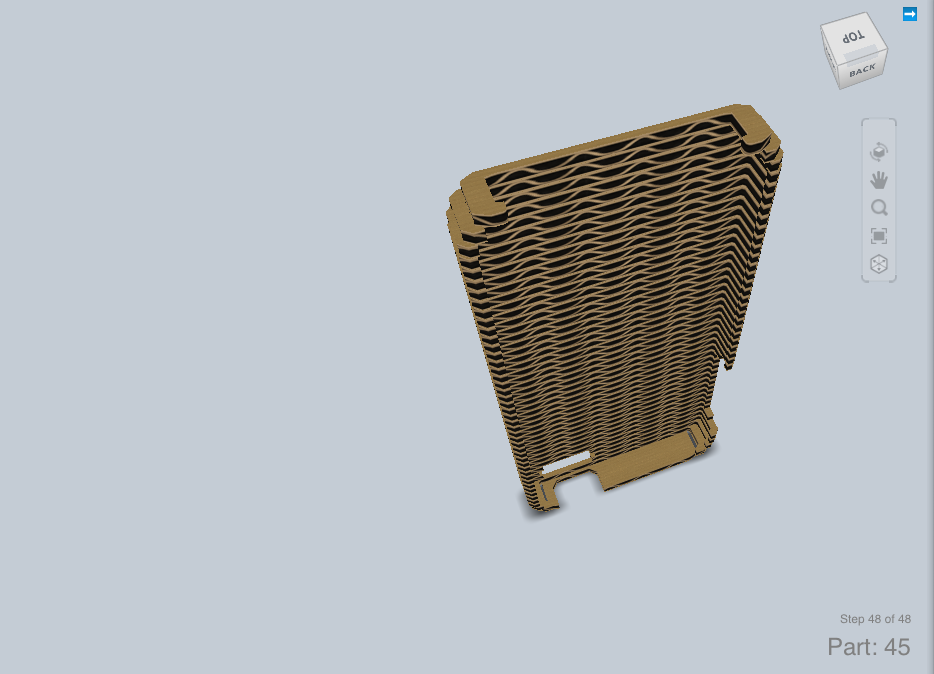
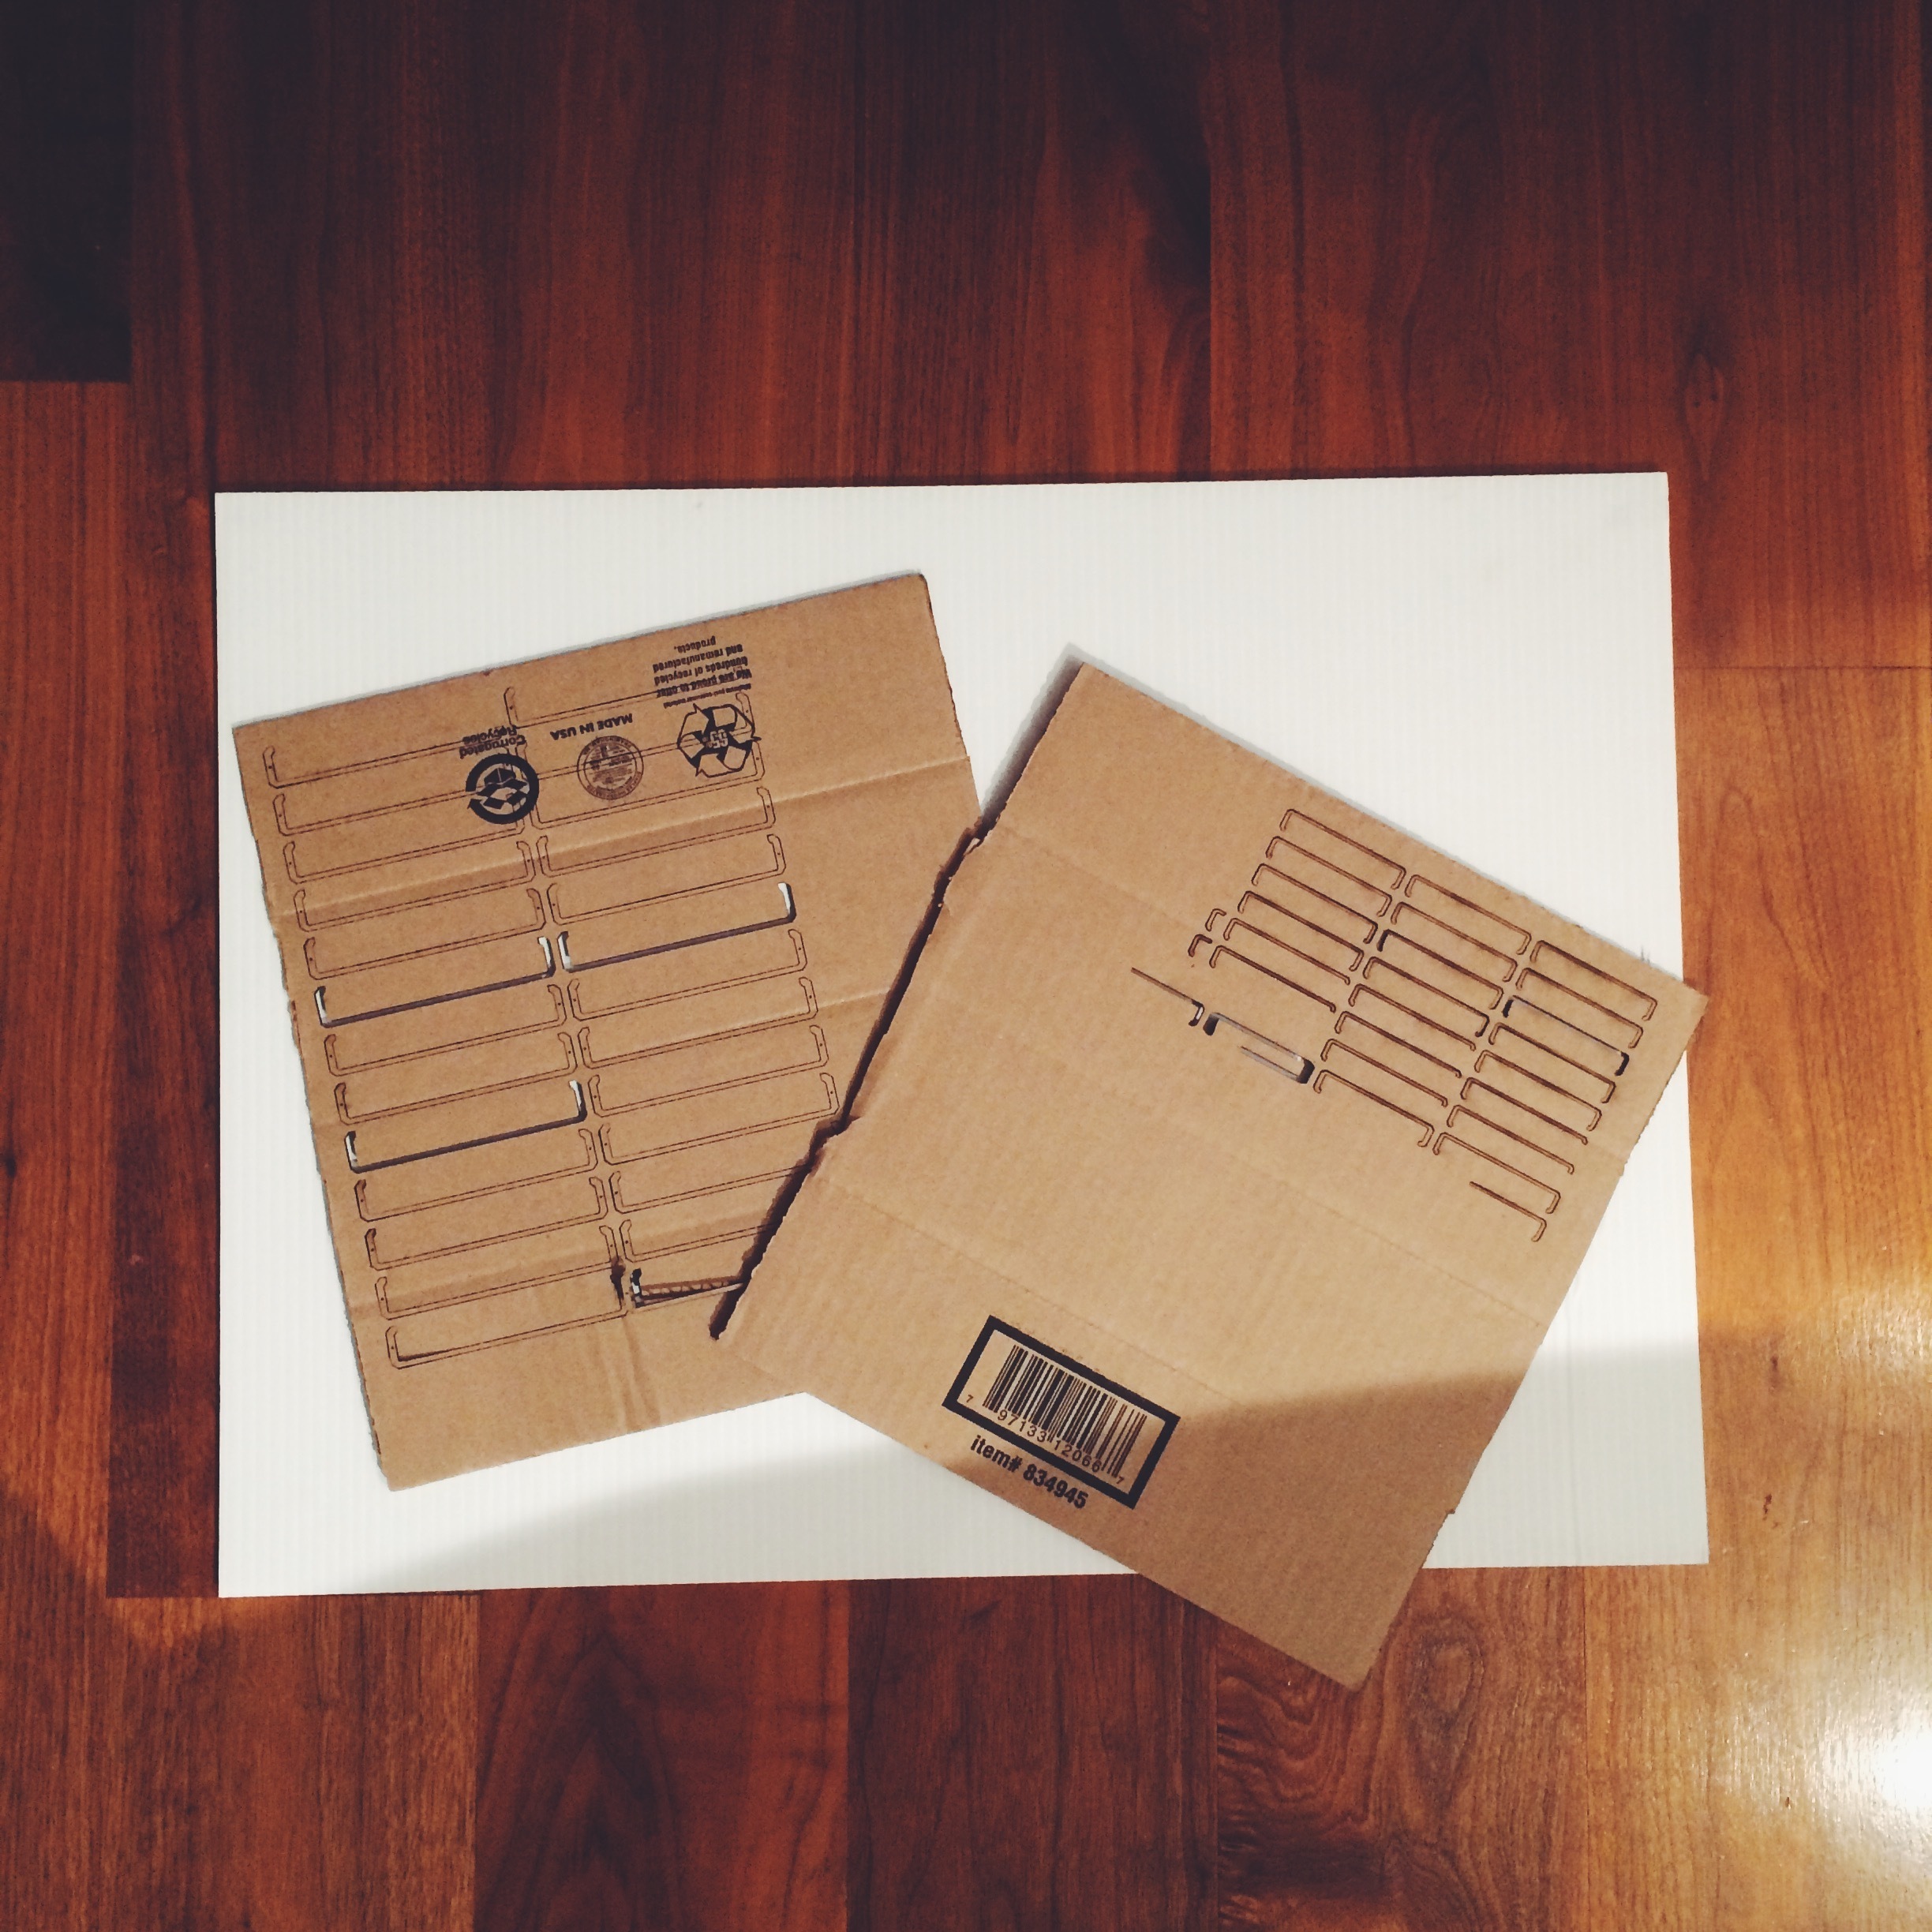
After playing around with (found) 3D models, I ended up with a pretty basic sliced model of the iPhone case that I wanted to cut using cardboard to get a sense of.
After multiple failed runs, where the size was either too large or too small, the whole thing felt ugly and uninspired. I had to change direction, I felt.
I started by playing around with basic shapes in Illustrator, as well as think about materials I want to work with. Acrylic is always my first choice, so no to that. Cardboard is great, but sort of rugged. I went to Staples and found the amazingness that is foam board. They come in all sort of beautiful colors, including a pleasant shade of muted gray as well as the blackest black possible.
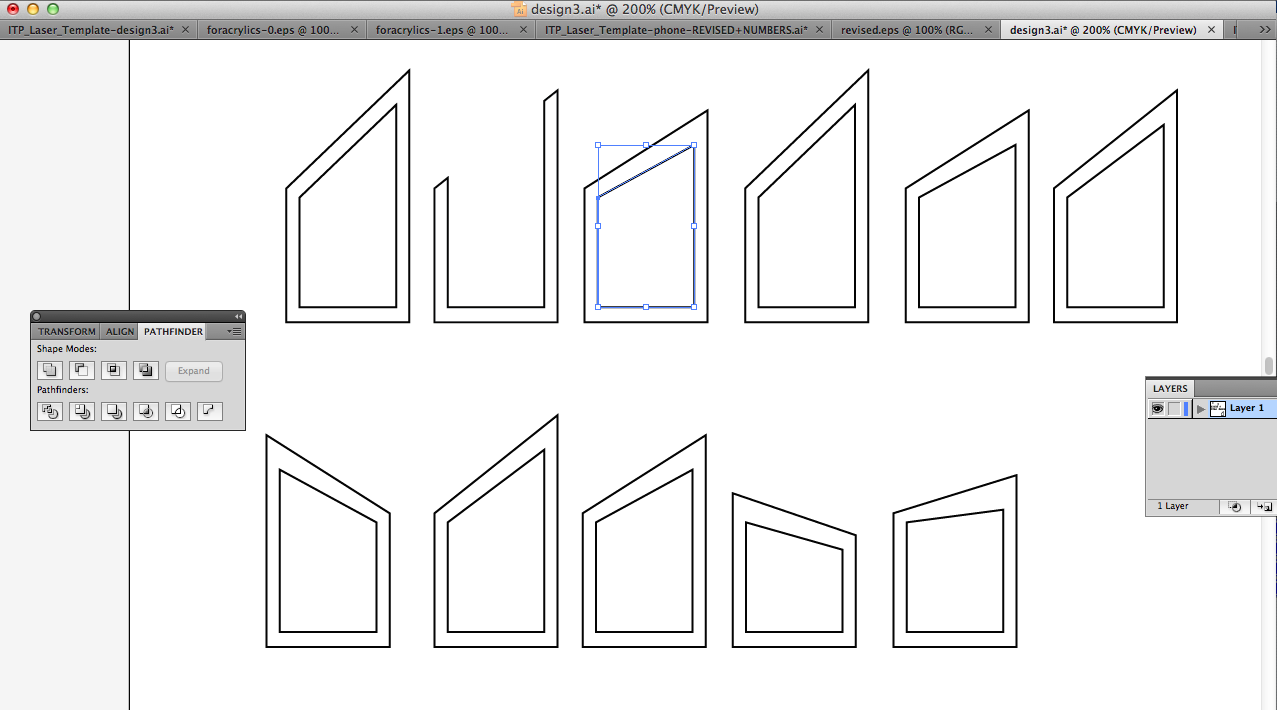
The whole thing was an exercise in drawing modular, exchangeable shapes that are all based on the same basic shape. I felt better in this clean, simplified direction. By now I knew what I wanted to make: a penholder with an architectural appearance.
After a bit more experimentation, I went ahead and laser-cut the shapes in my newly acquired foam board.
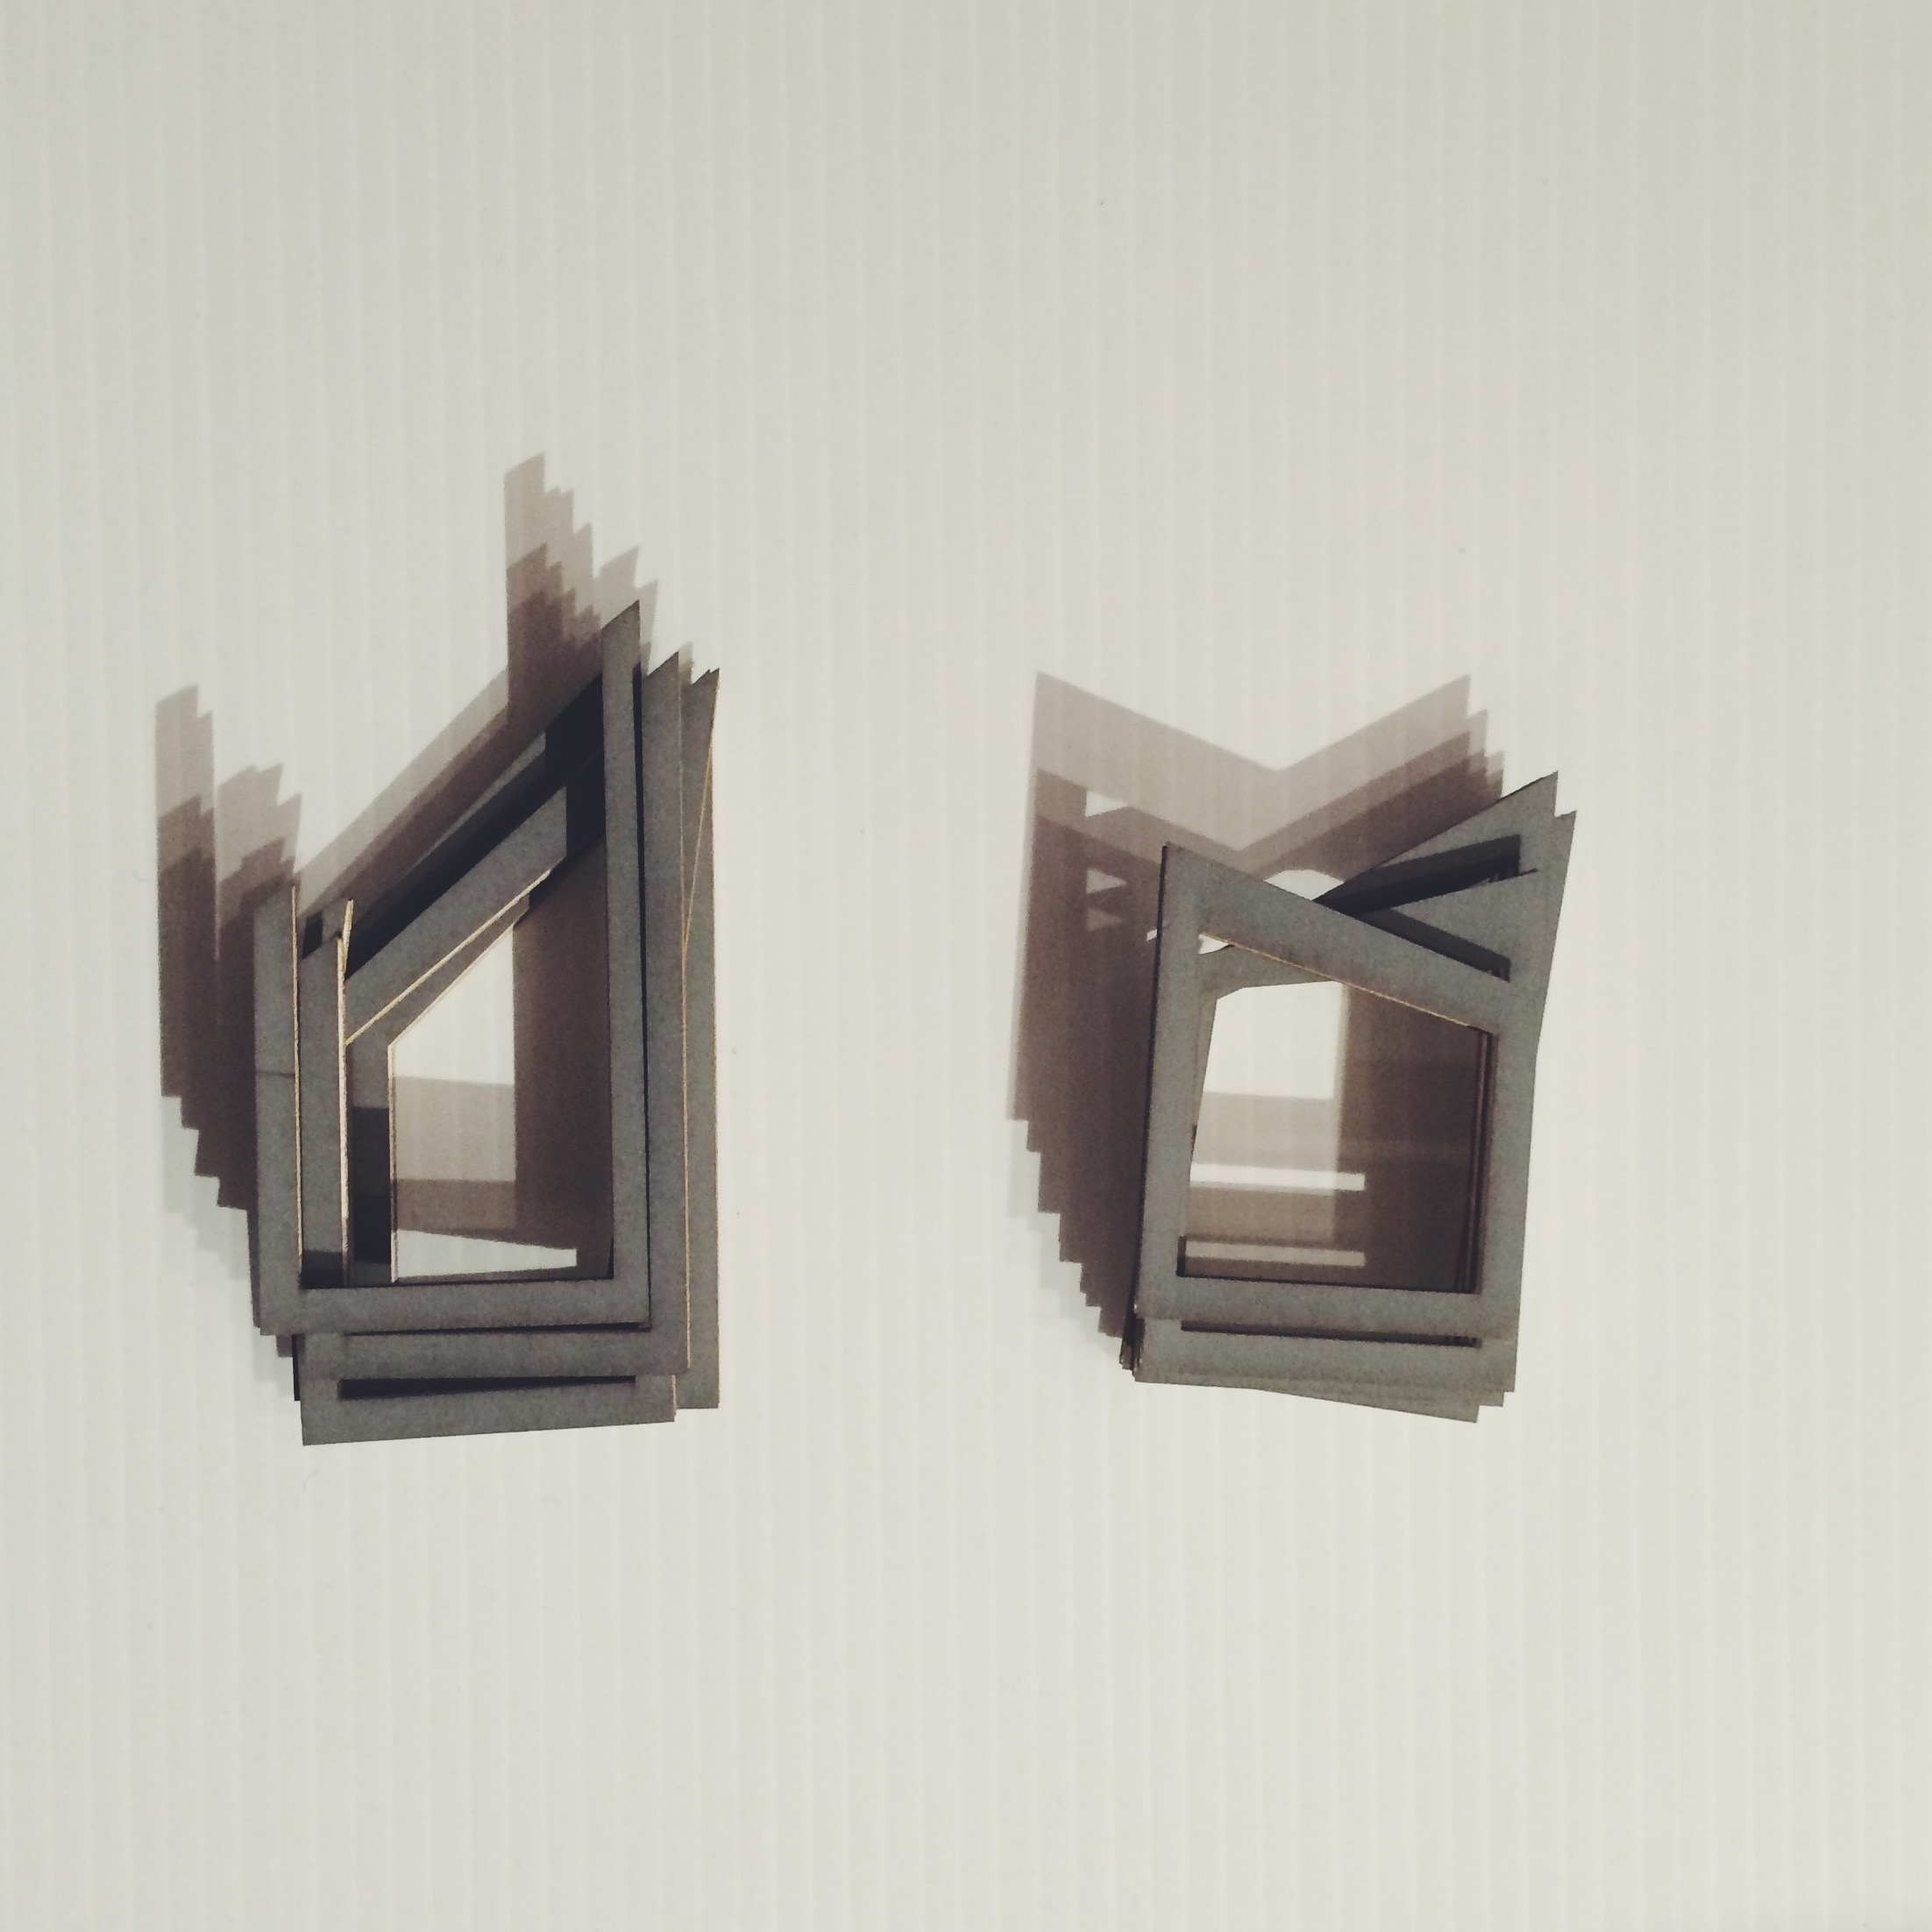
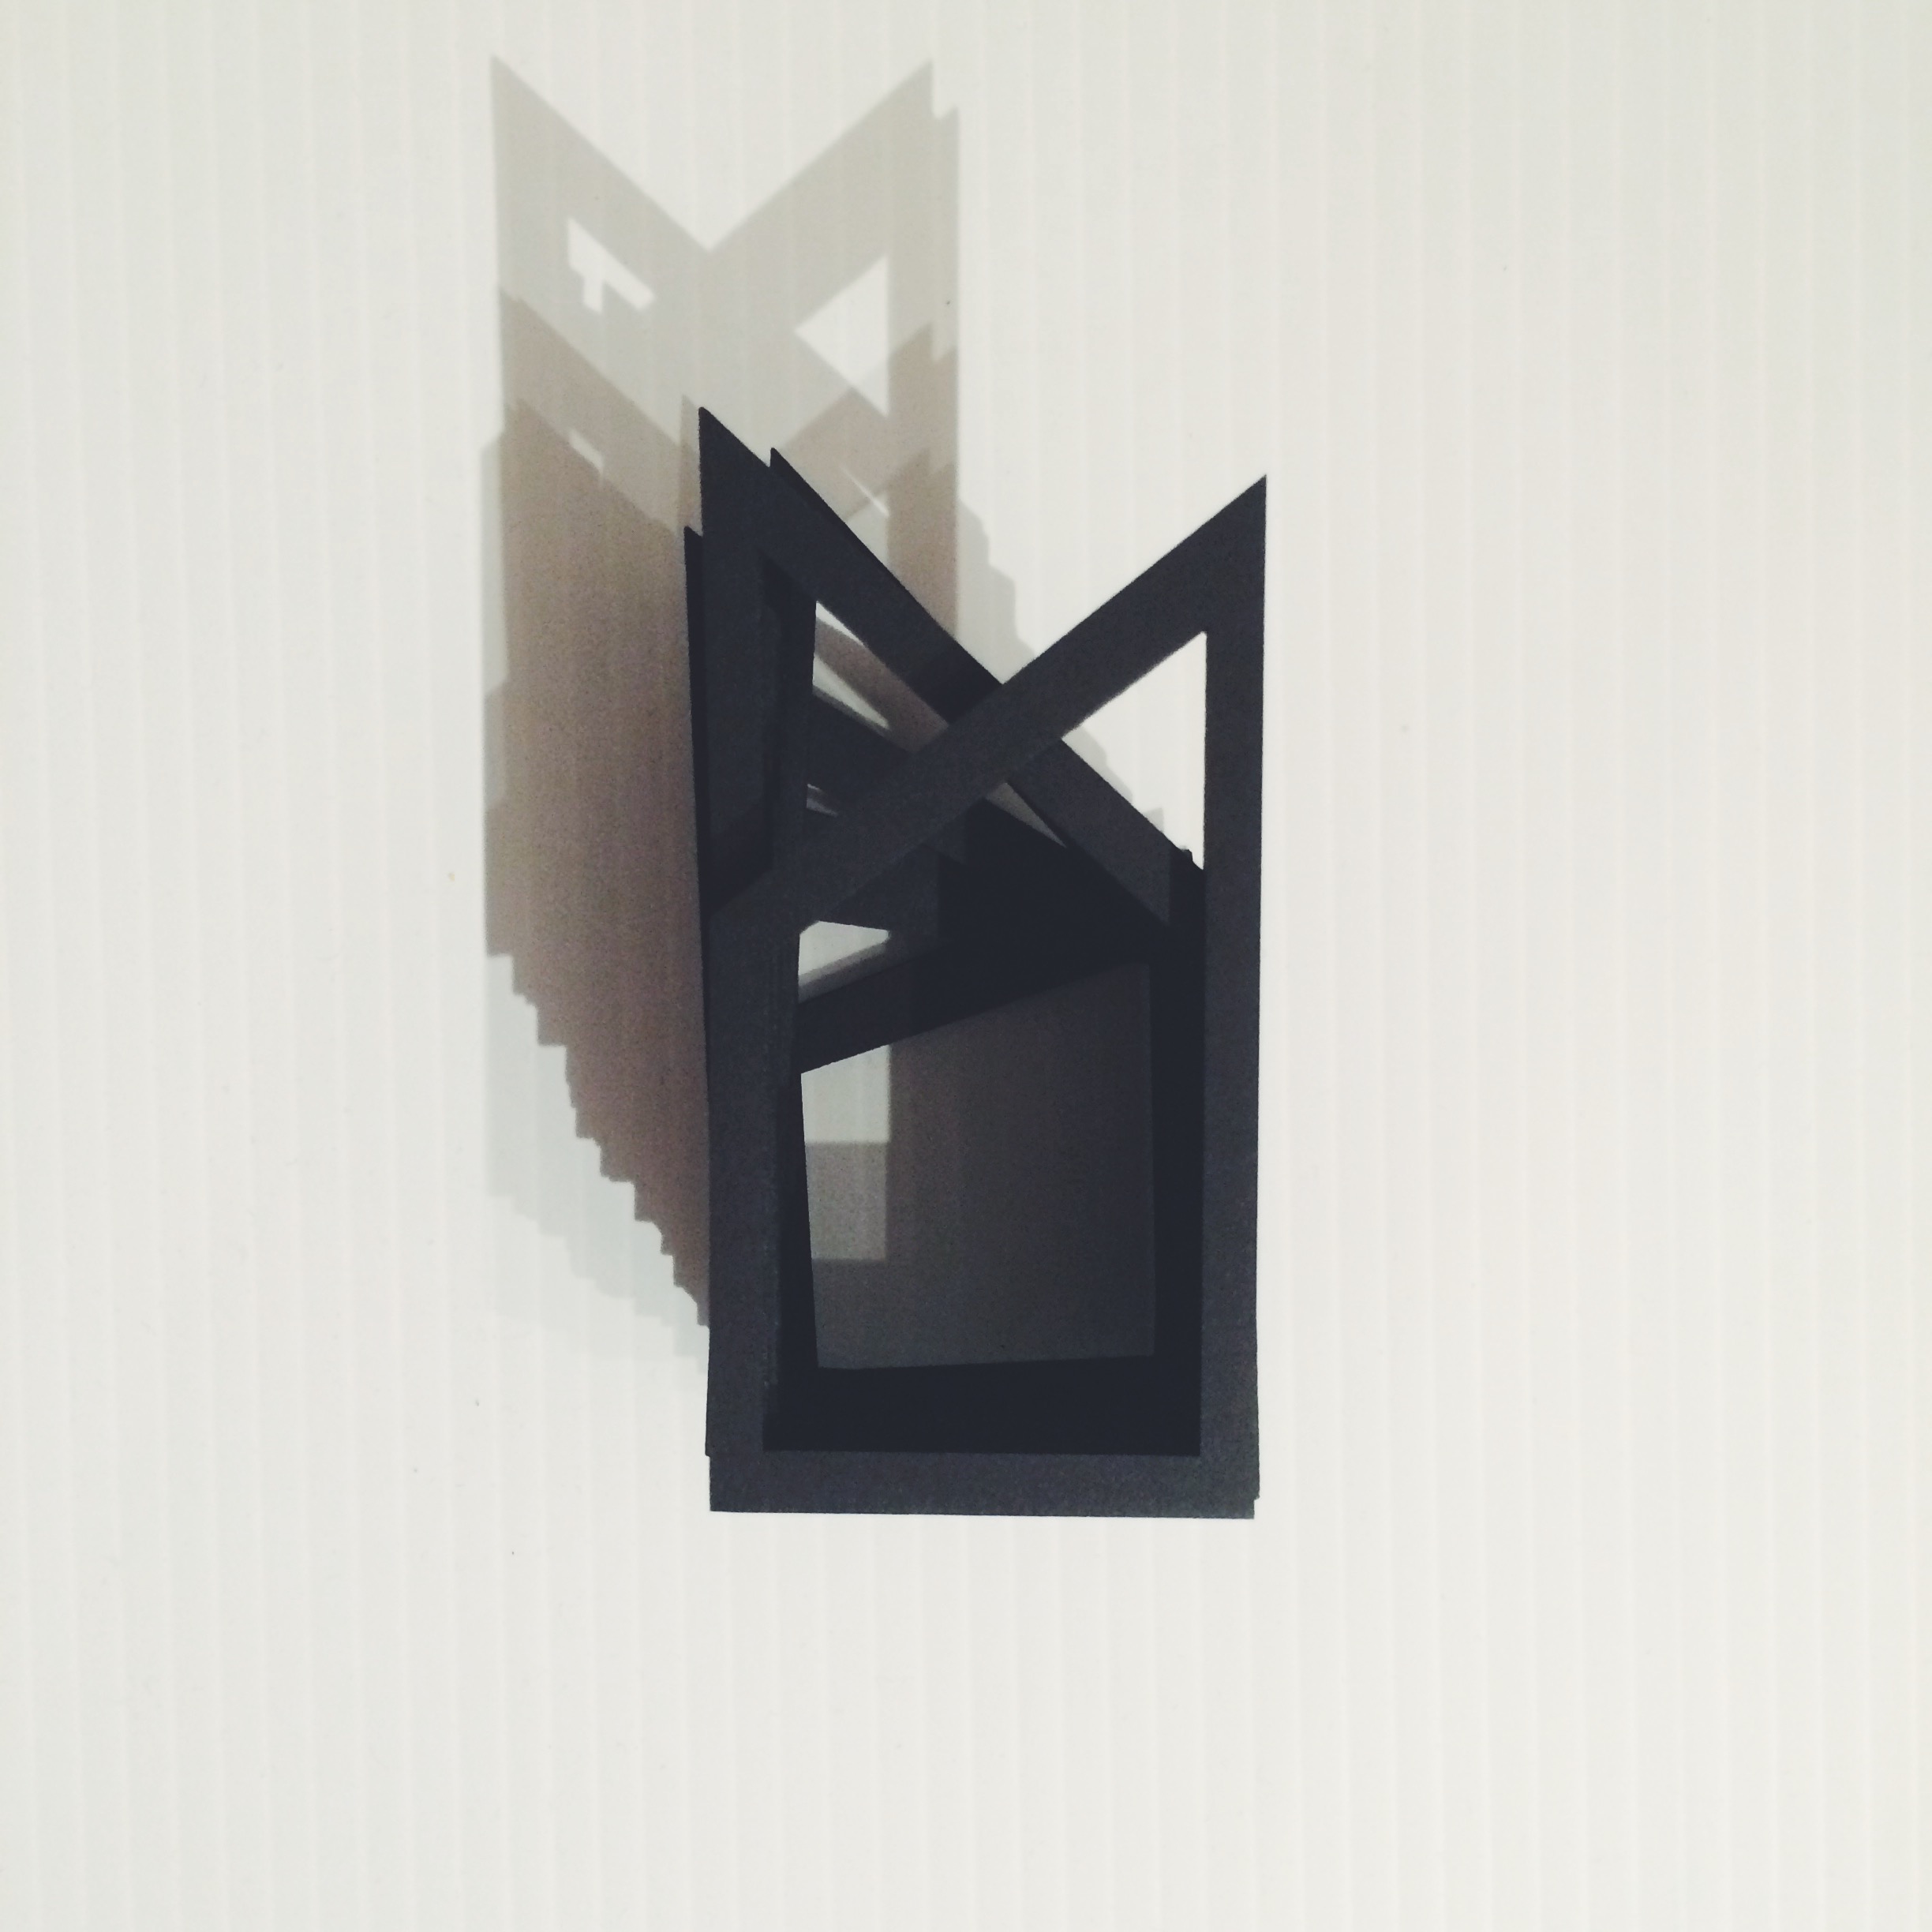
The above was made using the gray foam board. I also used the black foam board for a more striking look.

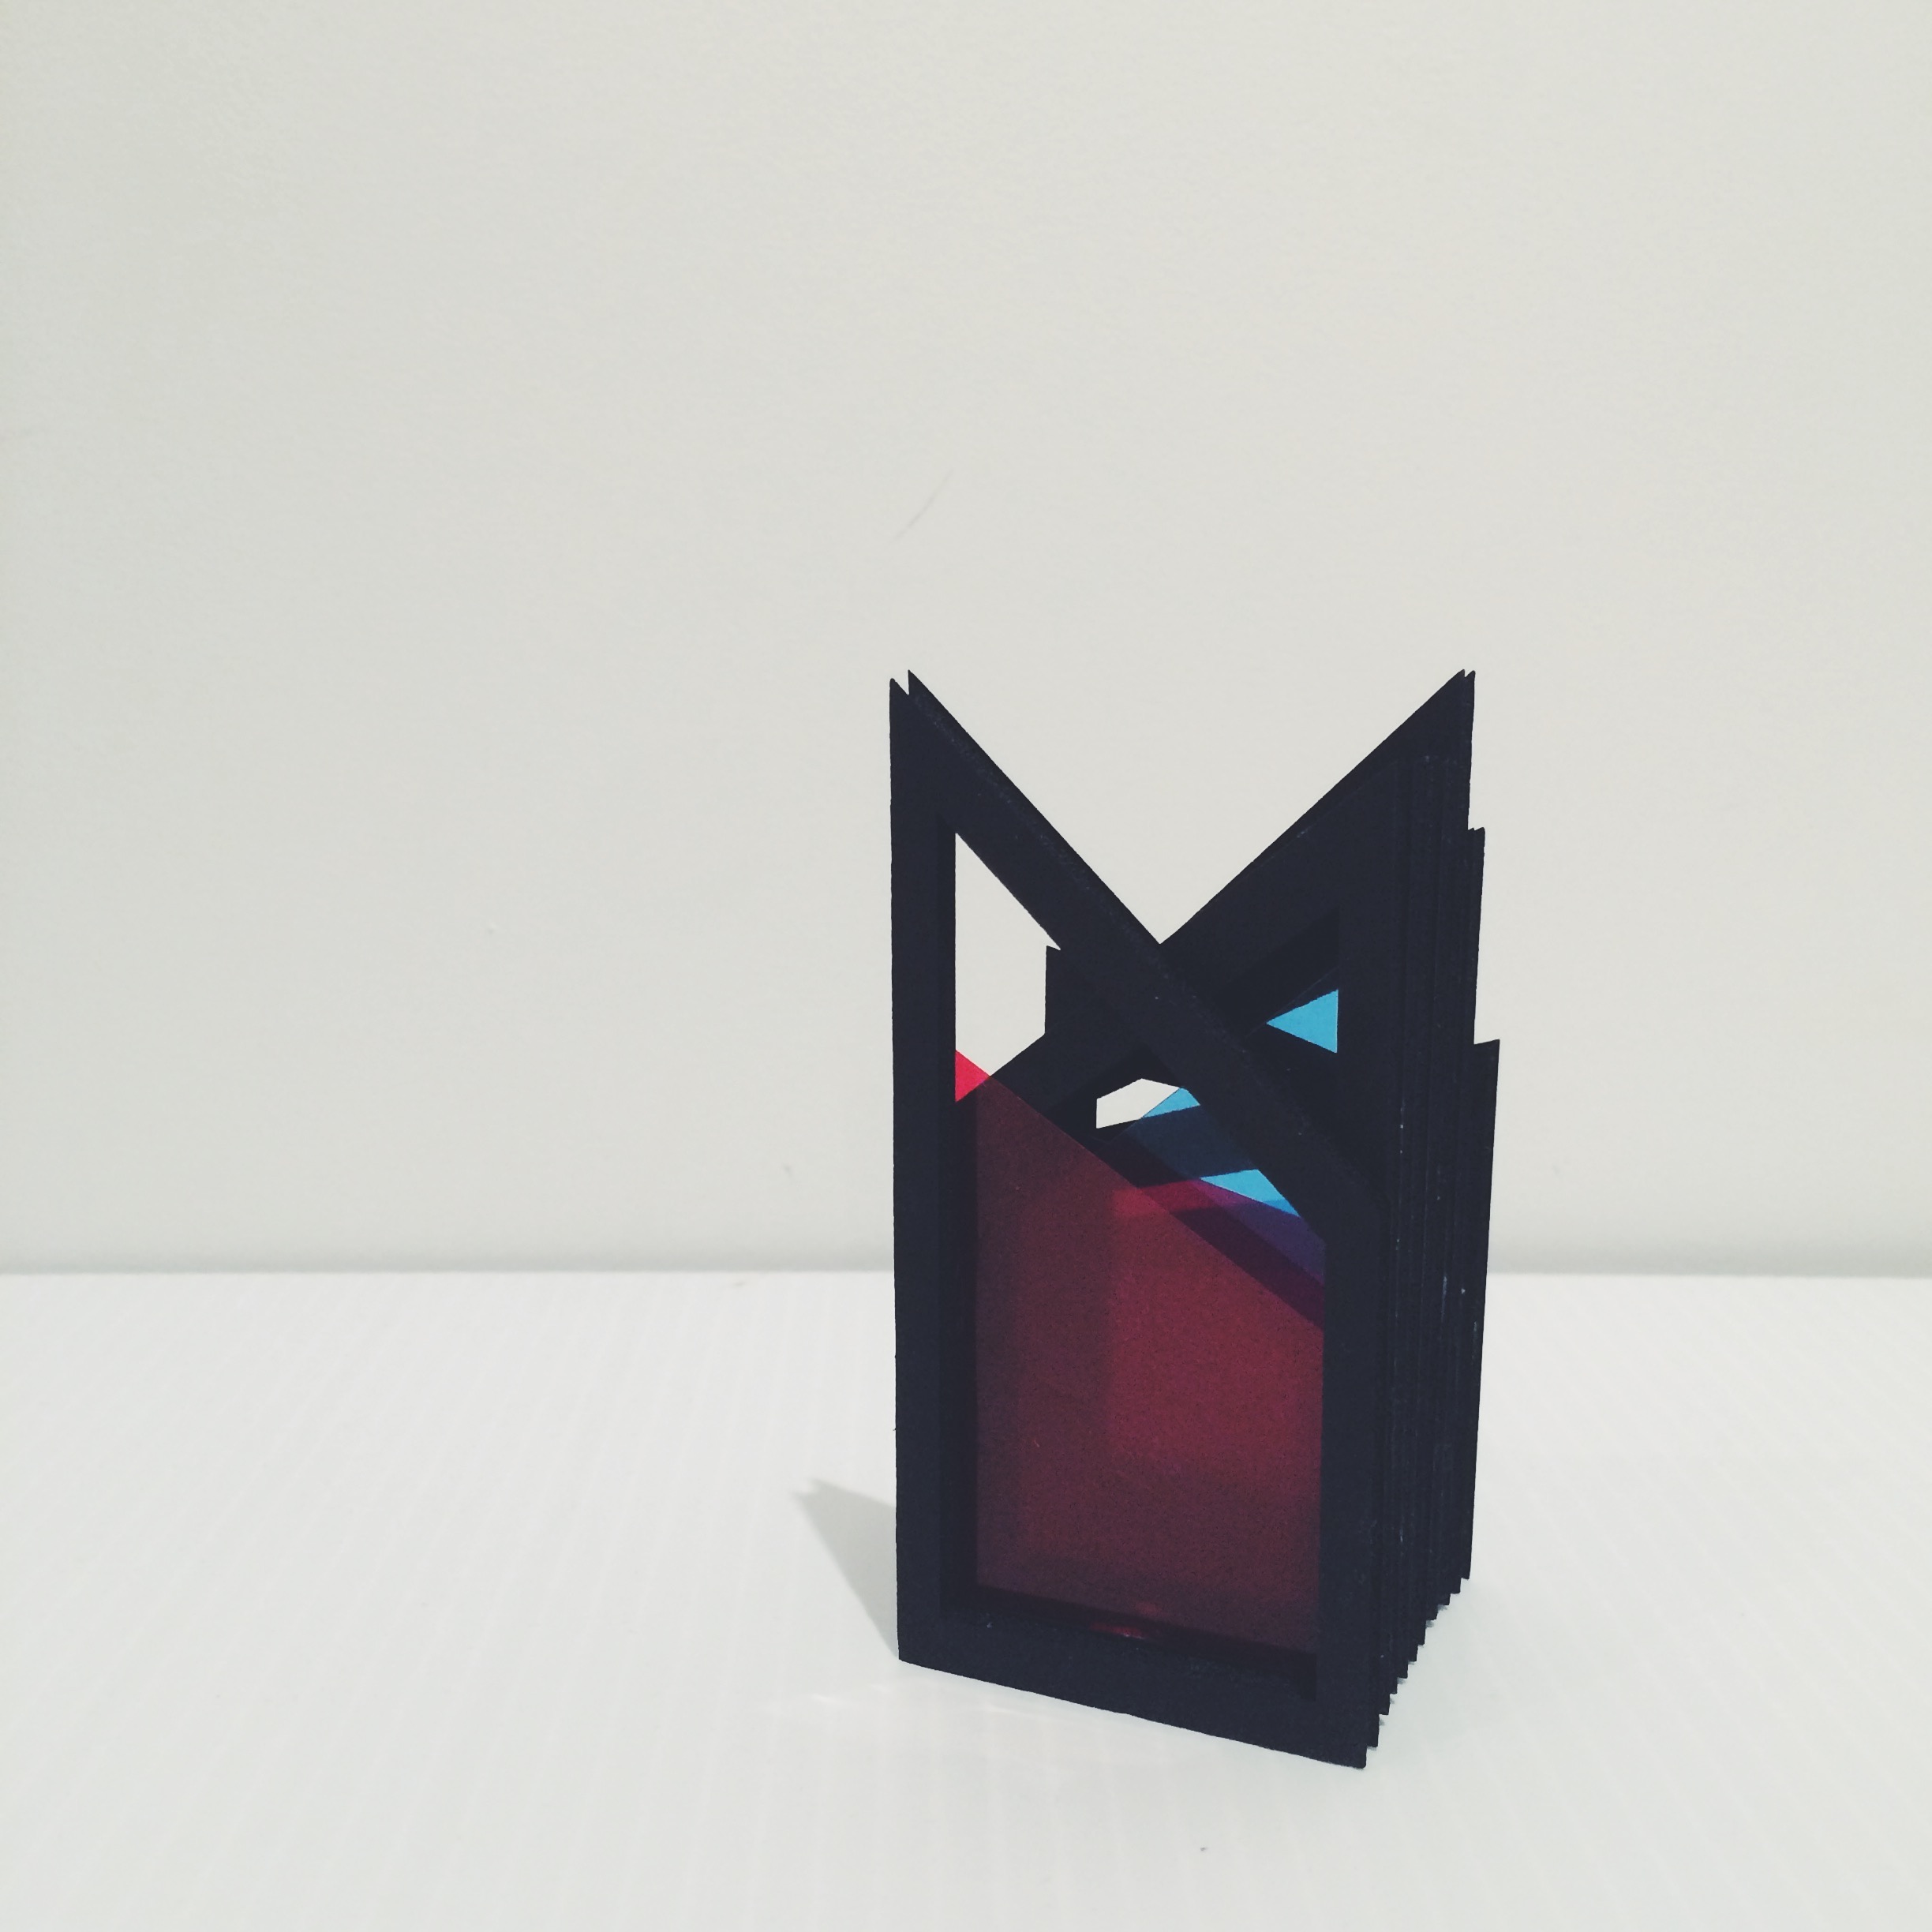
After trying different arrangements, I felt the below is best because it’s orderly, asymmetrical and proportional.
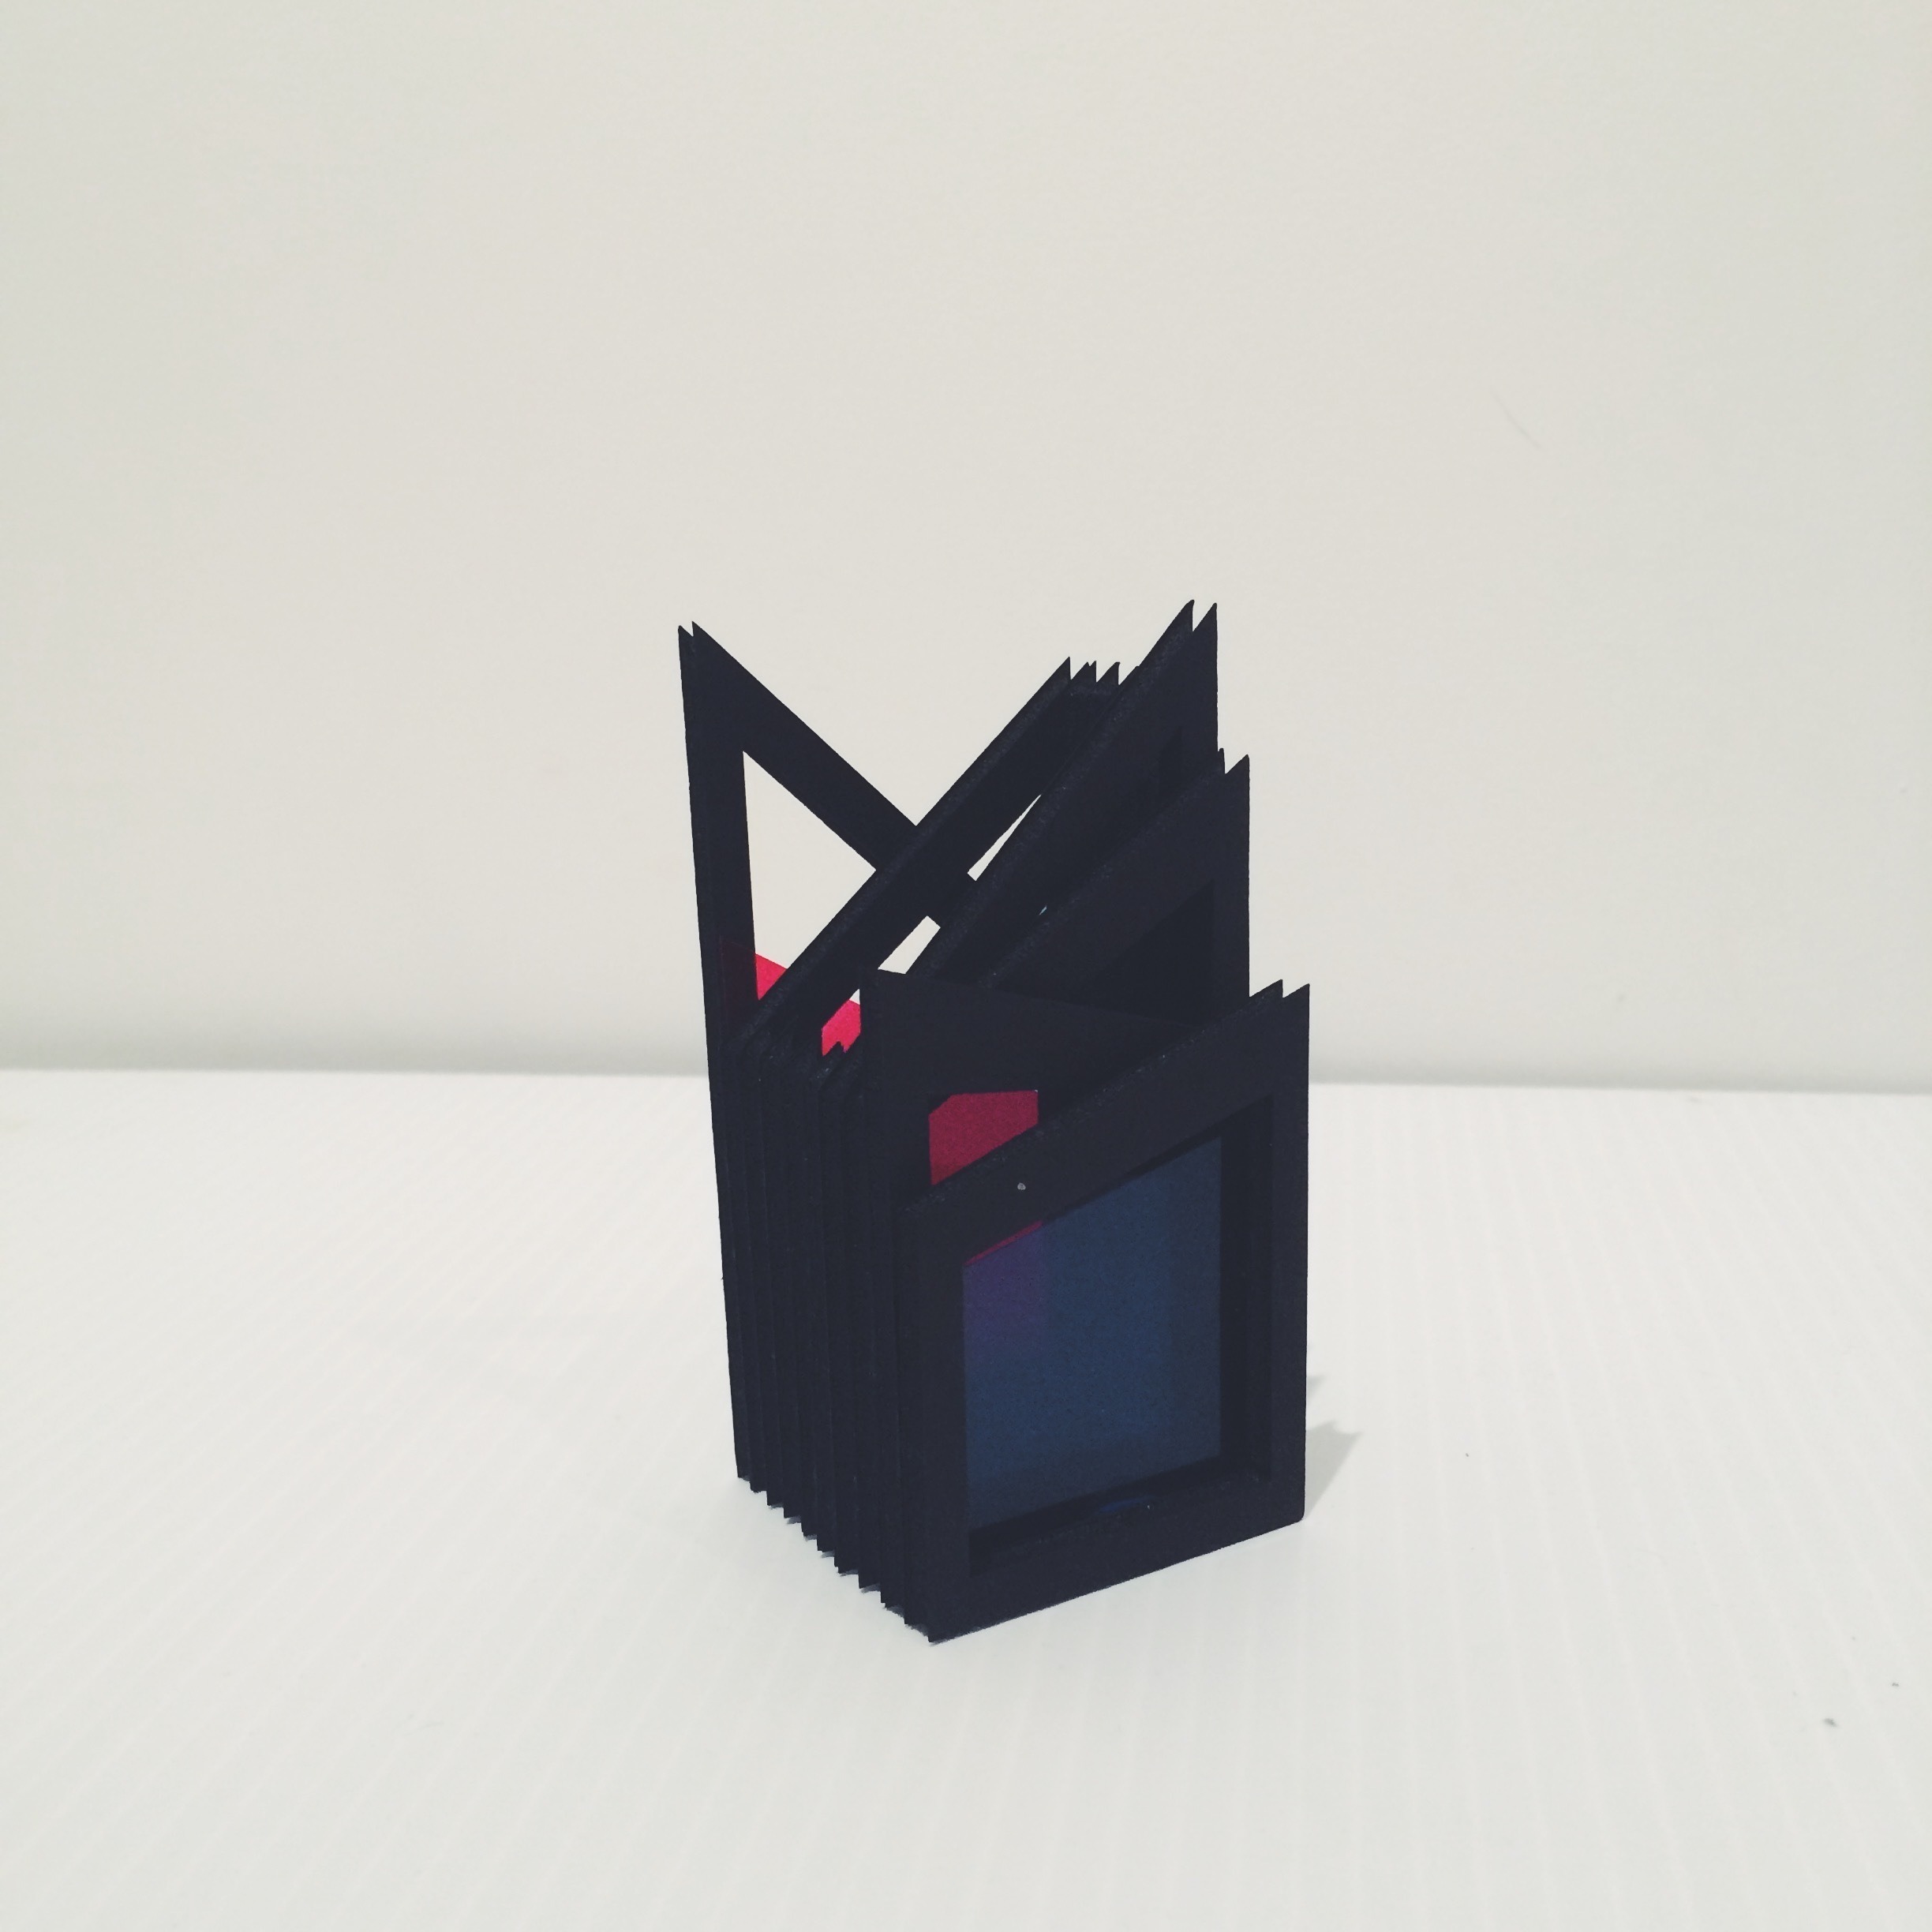
After adding a bit of color, the below is the final assembled piece in all its functional (and nonfunctional) glory.

Leave a Reply to Salem Cancel reply