For this fabrication project, I decided to make an old dream come true by constructing some sort of a dashboard with buttons, knobs, and user interface details. The parameters of this project is a to build an enclosure with the needed components within and without. Since I am not sure what function I am looking for at the moment, I will design the inside of the enclosure as one that fits an arduino board + wires.
“MOOD BOARD”
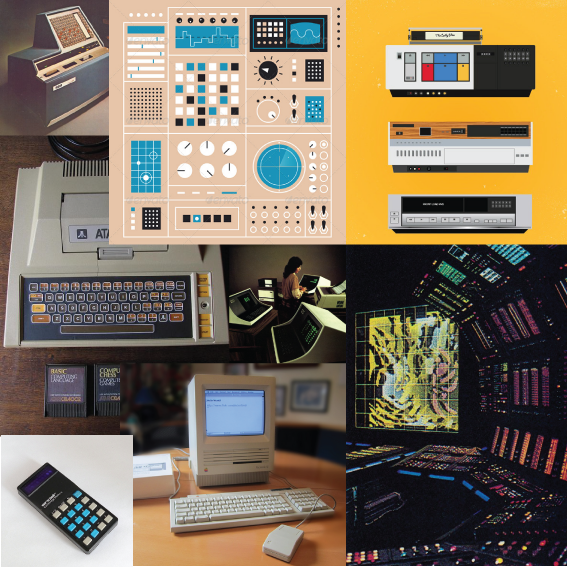
To begin with, I started with collecting images that I like of real and fictional dashboards. I was after the retro look for some reason; it is much more aesthetically interesting than the usual hi-tech dashboards.
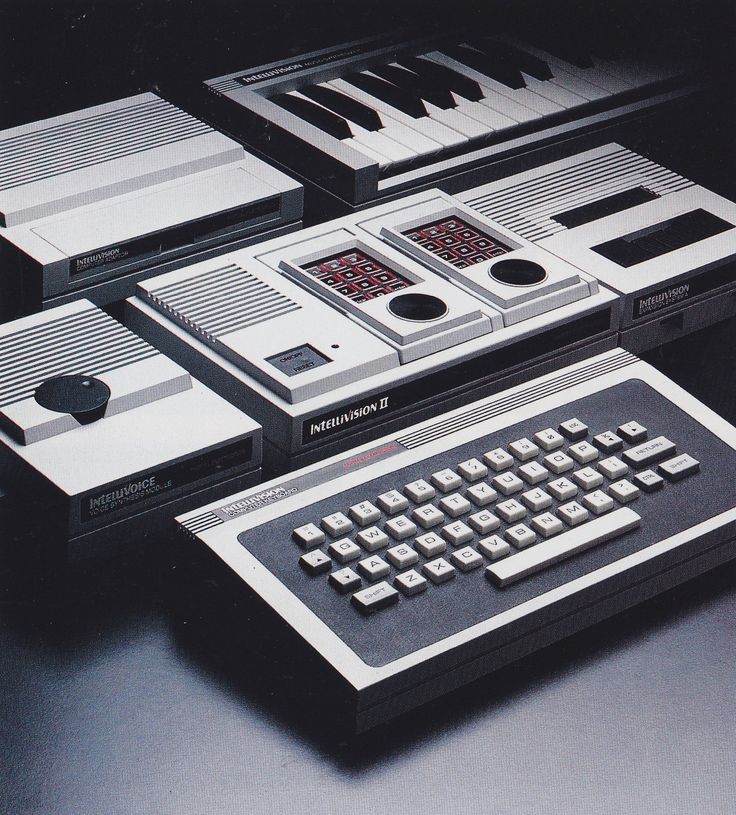
More specifically, I found the clean, minimalist visual style of the below Intellivision II design the most attractive. Especially with all the sharp lines and the minimal color.
SKETCHING
This project required an intensive sketching phase as there are many considerations for shape, measurements, and fixtures.
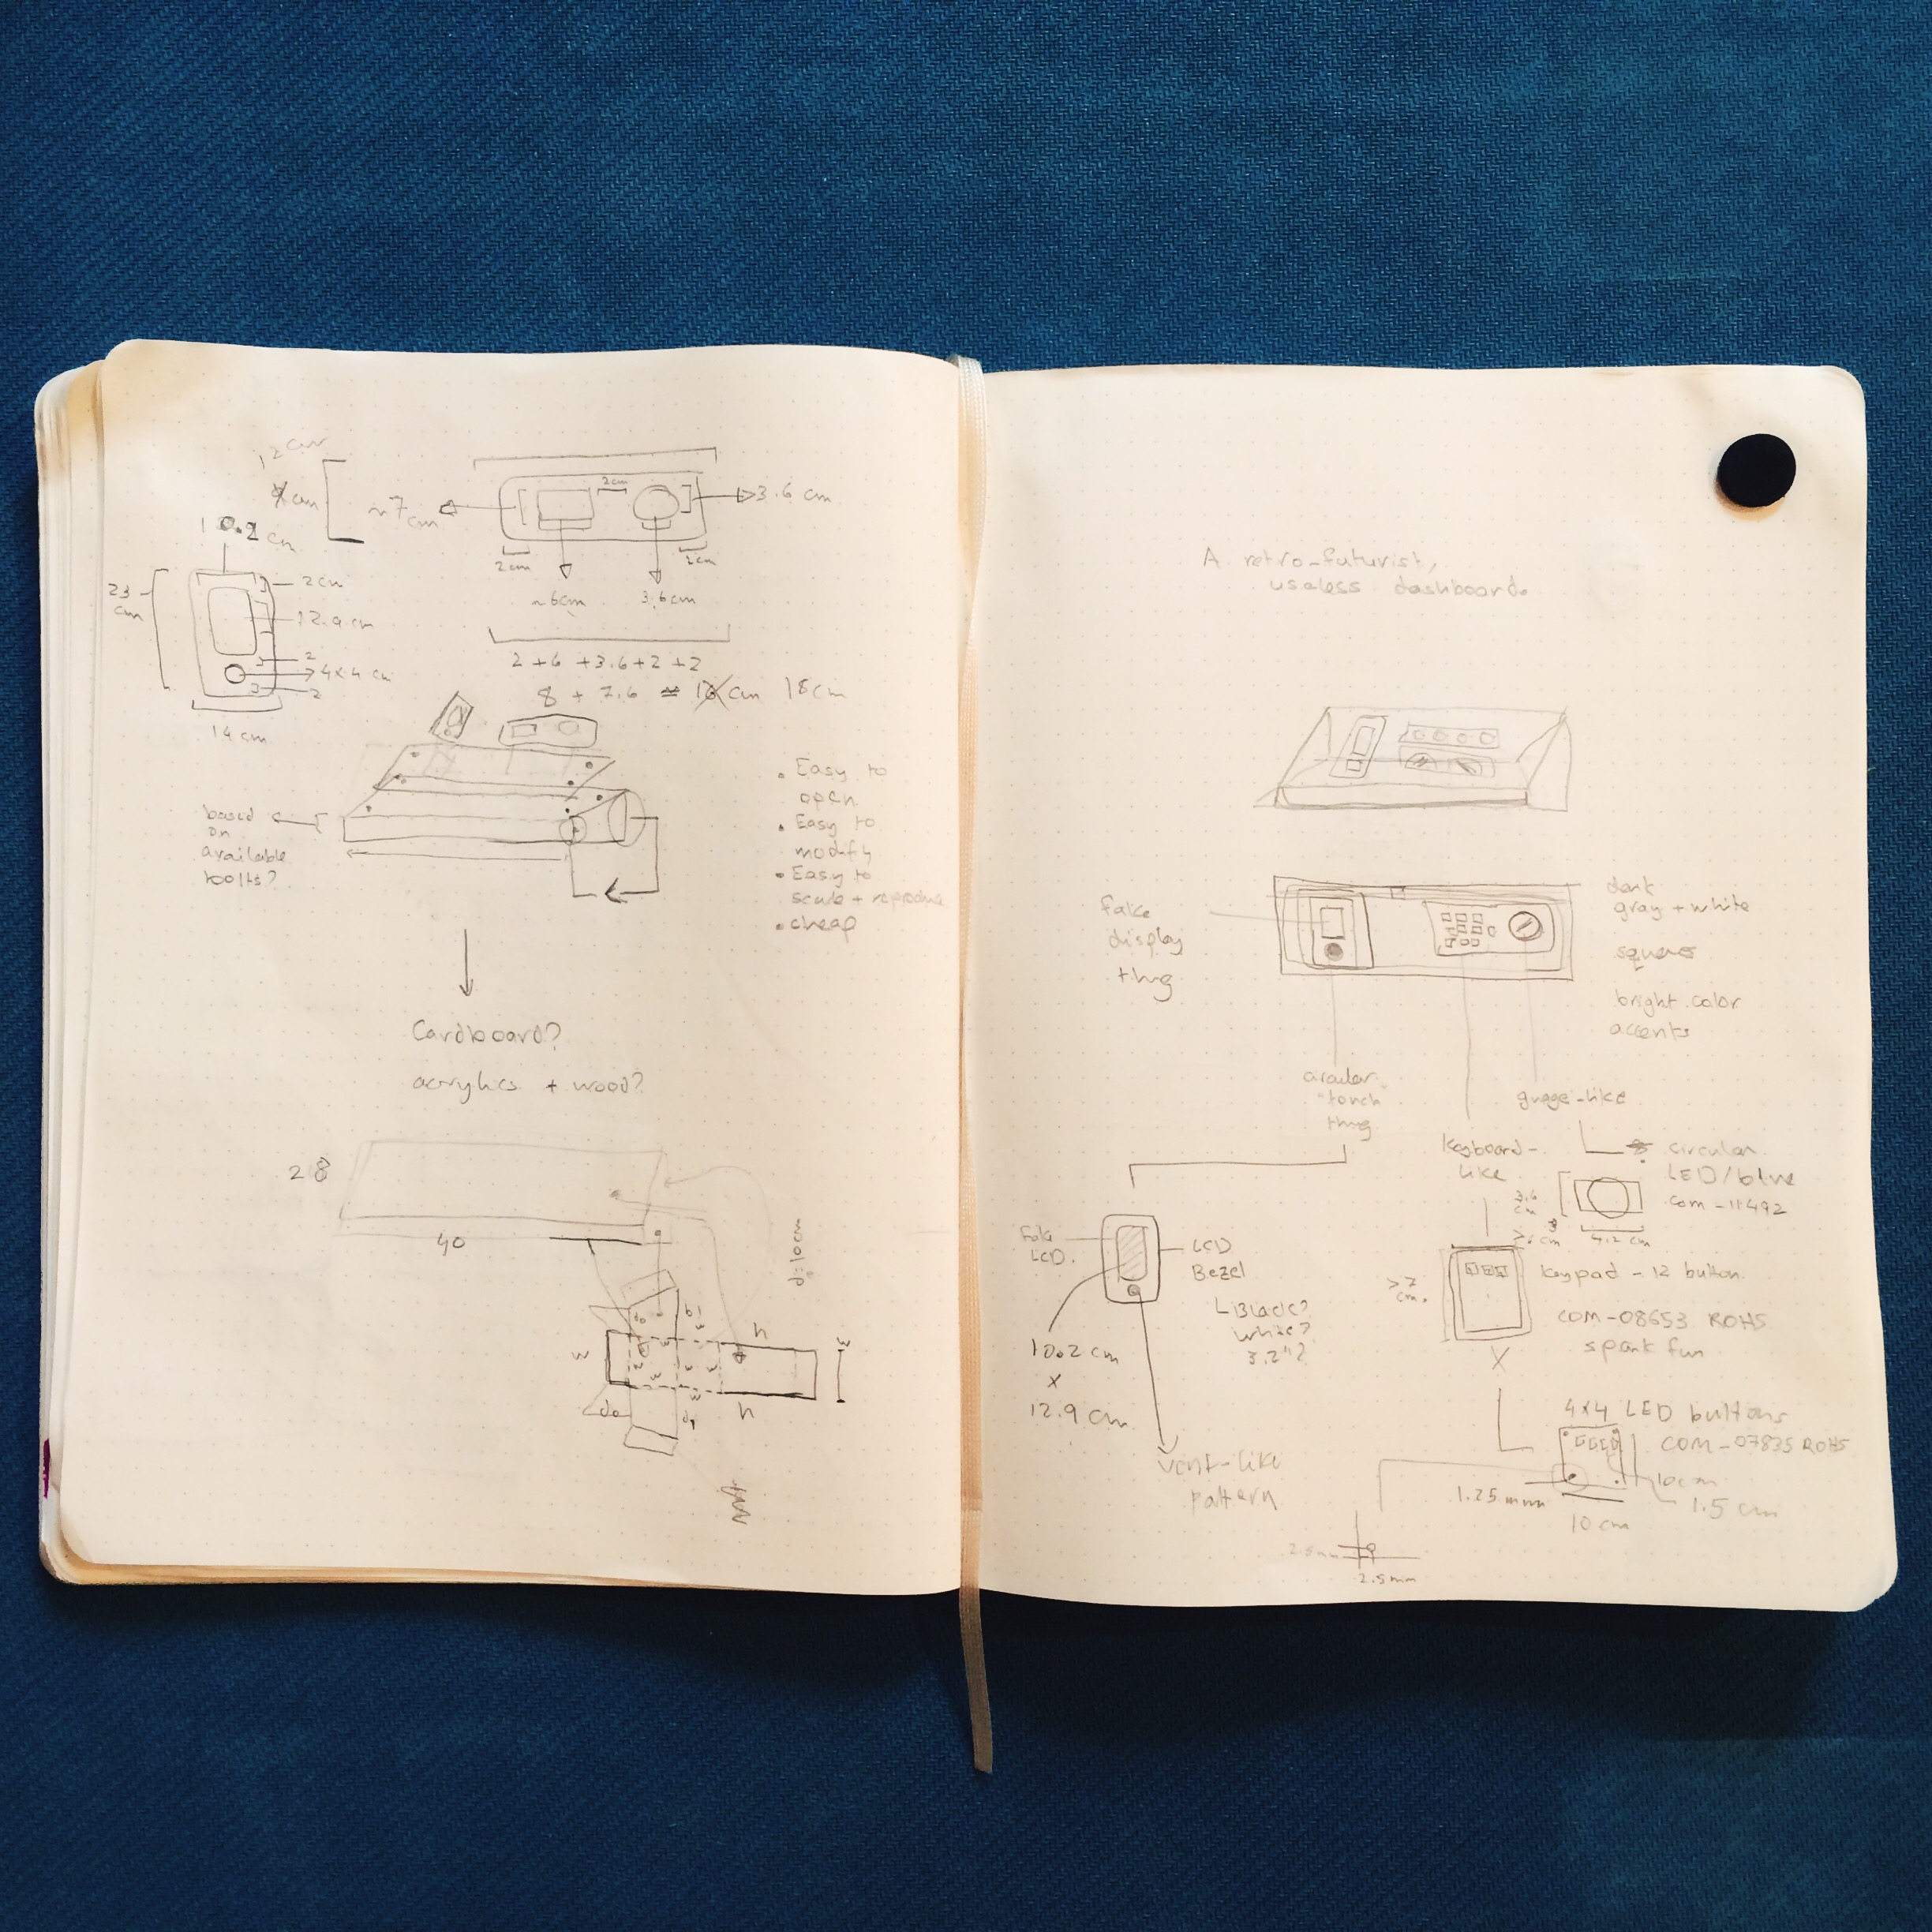
The first goal at this stage were to find out what kind of “components” I was looking for, first in terms of shapes, then in terms of actual manifestations. For instance, I started with thinking that I want a keypad-like thing, which translated into a matrix of square LED-buttons that are sold in Sparkfun. Another component is a round UI element, which perfectly stands for a readily available knob. For some instances, I will probably have a filler component (in paper? acrylics? Don’t know yet), as with the idea of having an LCD-like component.
Another important aspect is defining the shape of the enclosure, which is rectangular. In addition, the dimensions of each component chosen were used to come up with the dimensions of the enclosure. A good exercise was sketching the “net” design for the model as if it was made out of contagious paper pieces, to get a sense of it (and possibly prototype it). The net design can be seen on the lower part of the left page in the photo above.
I did my best with the “fixtures” at this stage. I have no concrete idea about their dimensions as of yet, so I had to make do.
COMPONENTS
Next was the ordering of the components as was decided in the above step. I ordering the following components from SparkFun:
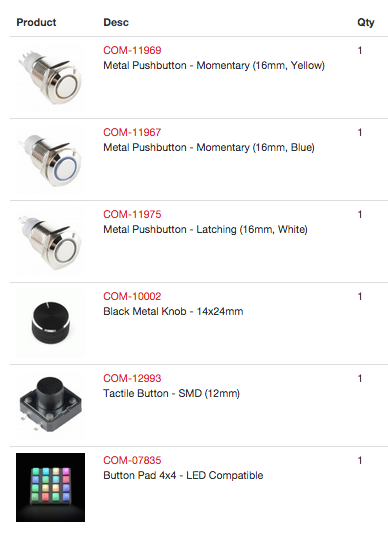
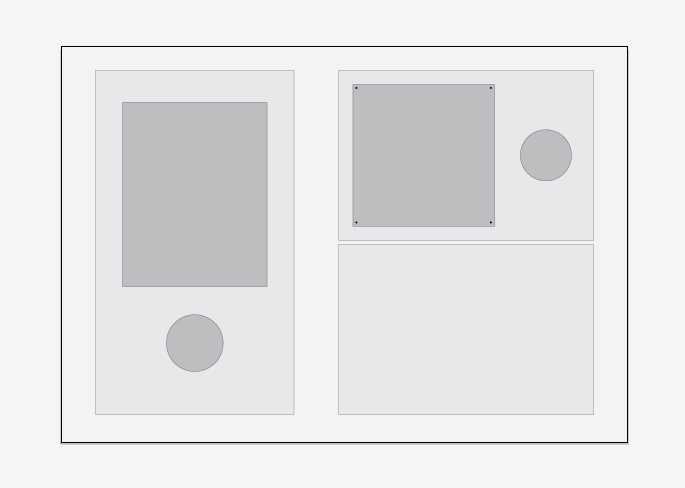
PLATE DESIGN
I then used Illustrator to design the main plate, as well as two sub panels that will make up the dashboard and the surface of the enclosure. At this stage I have no concrete idea about the material, but regardless of that, this exercise helps tremendously in having the arrangement of the components on the surface to be rational and sound. A great resource for this stage was SparkFun’s product pages which had drawings of the components with measurements.

PROGRESS
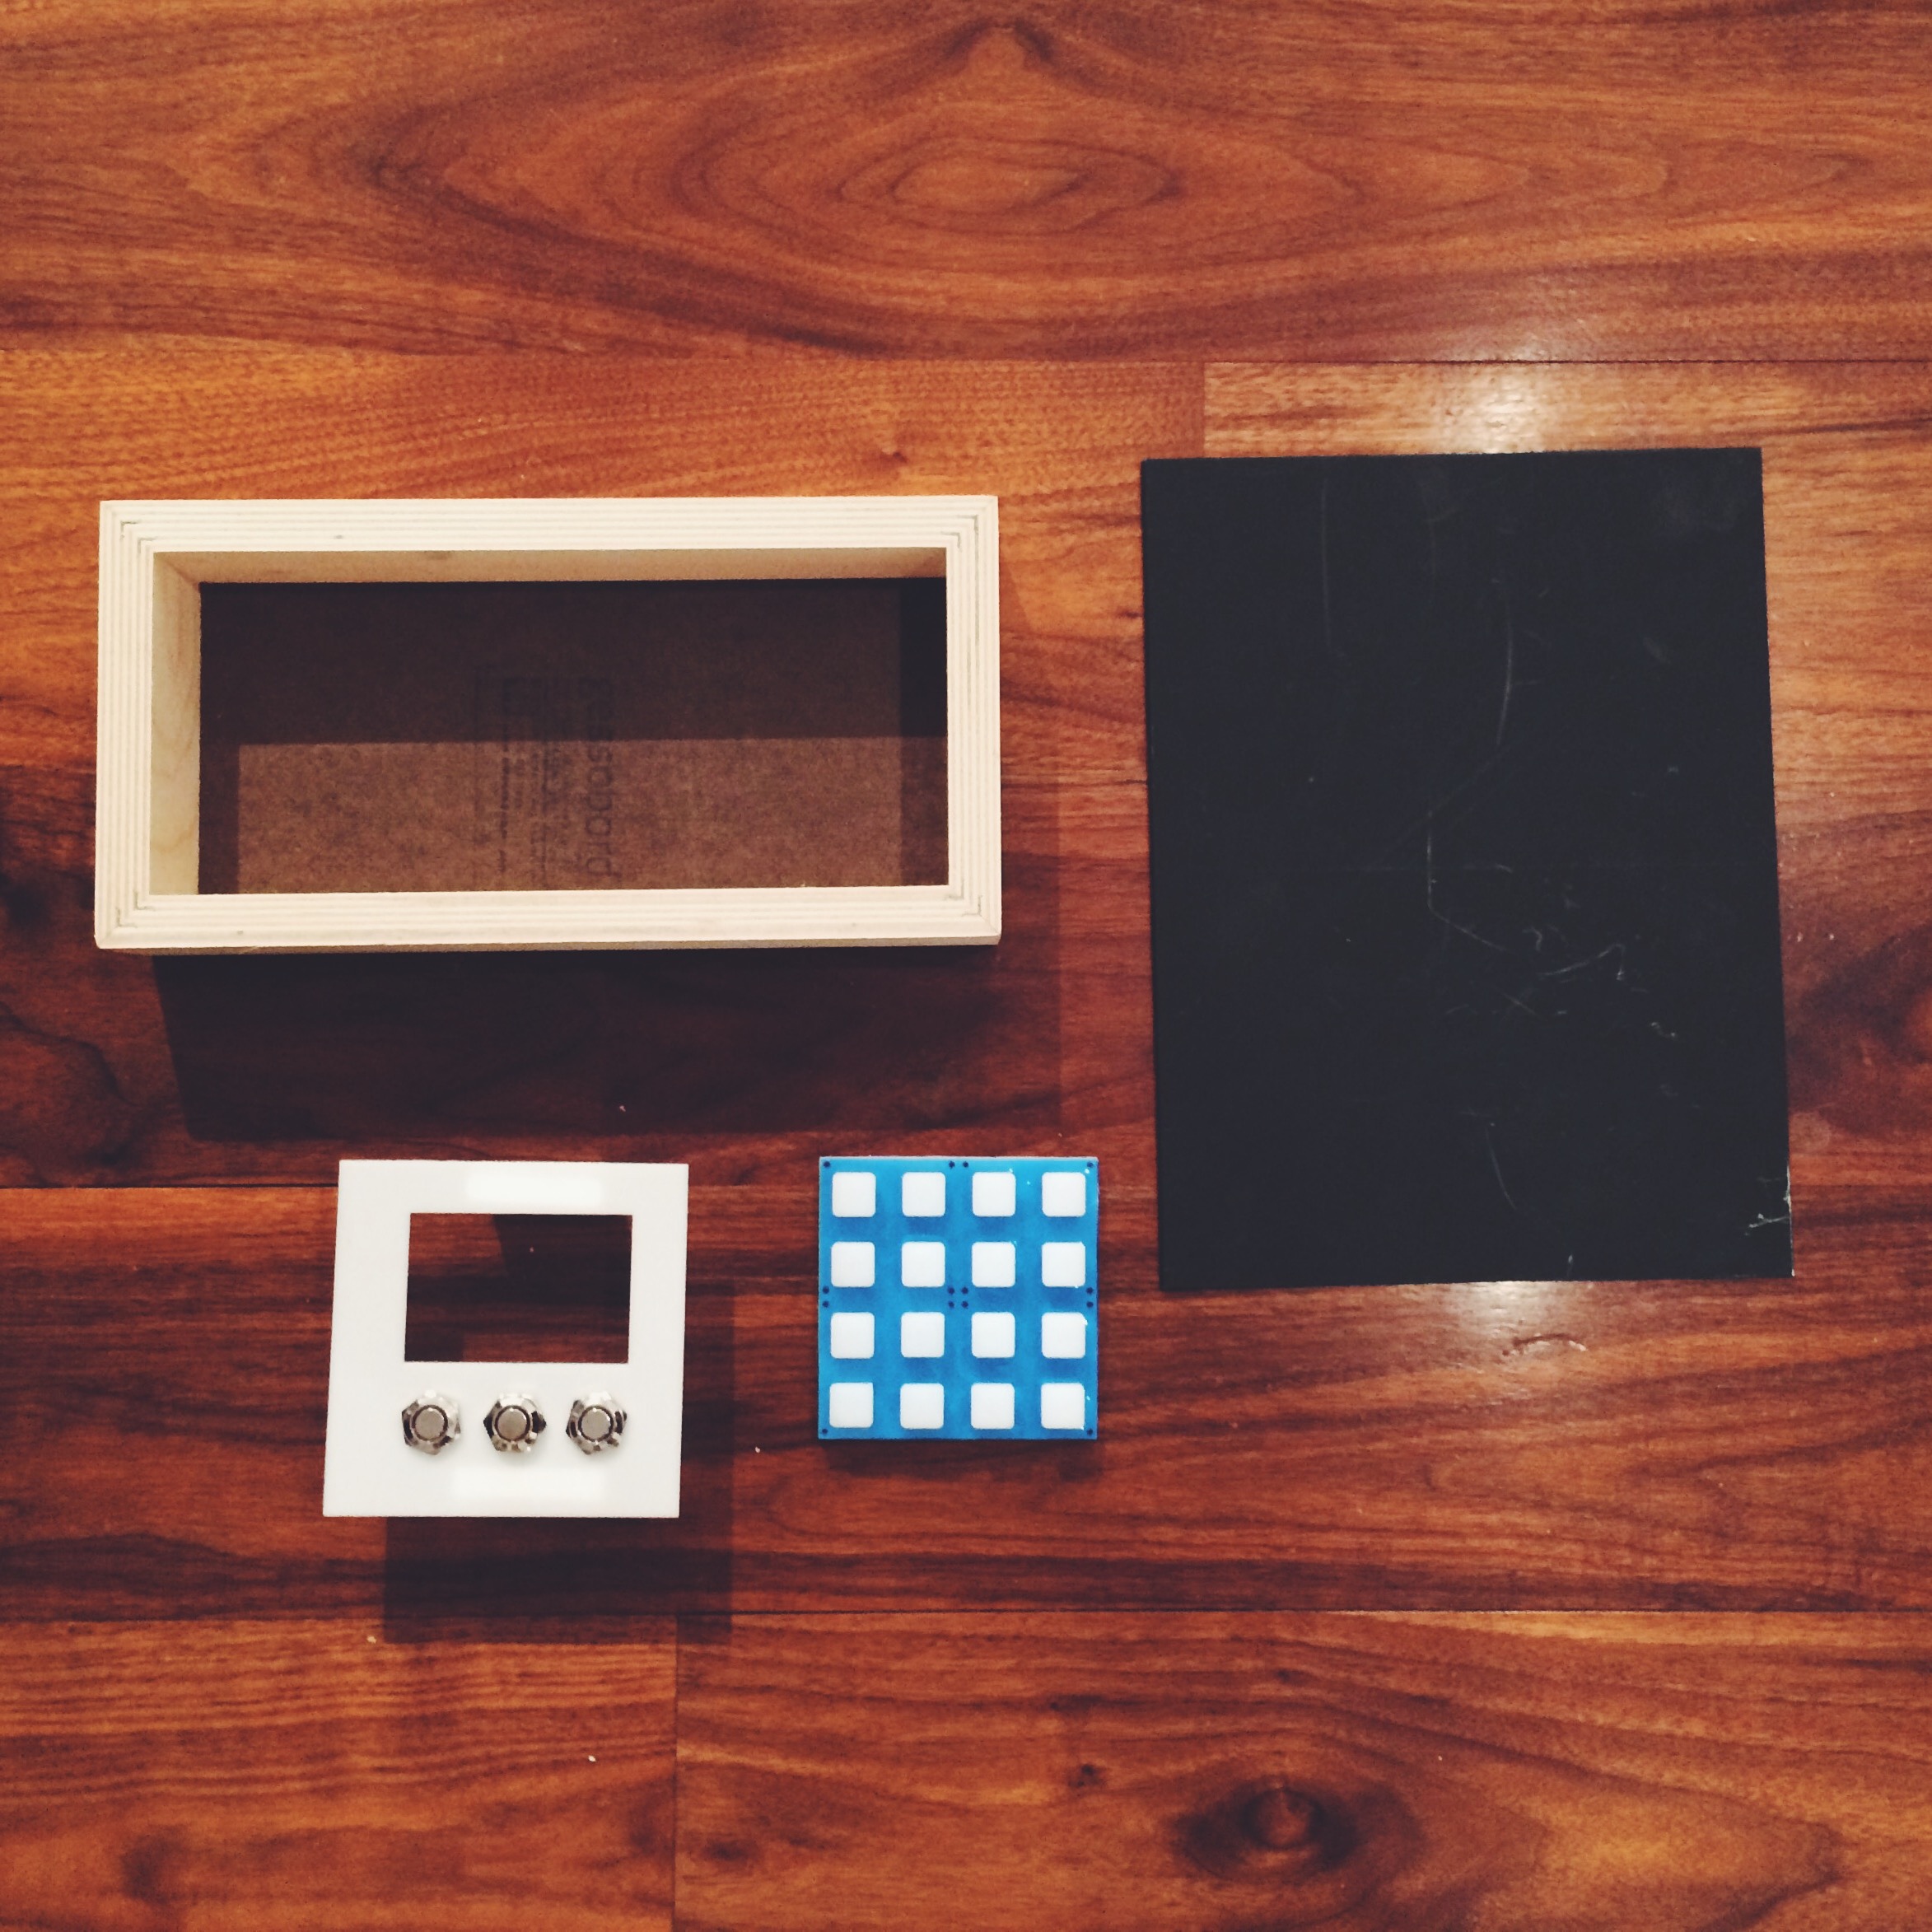
The furthest I could reach in this project this week was to have both panels cut (one for the “LCD-like component” plus three switch buttons, and another for the 4×4 LED button matrix). I also have in place my enclosure (which is, again, a maple wooden canvas—it’s quickly becoming my favorite material), and a panel made of black-painted masonite (scratch) board.
I don’t have any fixtures in place, but hope to get a few by the weekend.
Leave a Reply to Salem Cancel reply