My first project as part of the Intro to Fabrication course is to make an operating flashlight.
My first step was to figure out what constitutes, electronically, a flashlight.
Simply put, the simplest flashlight I can make is, a bulb or an LED, either two serially connected AA batteries, or a single D battery (depending on the voltage requirement of the bulb), a switch mechanism, and the connecting wires.
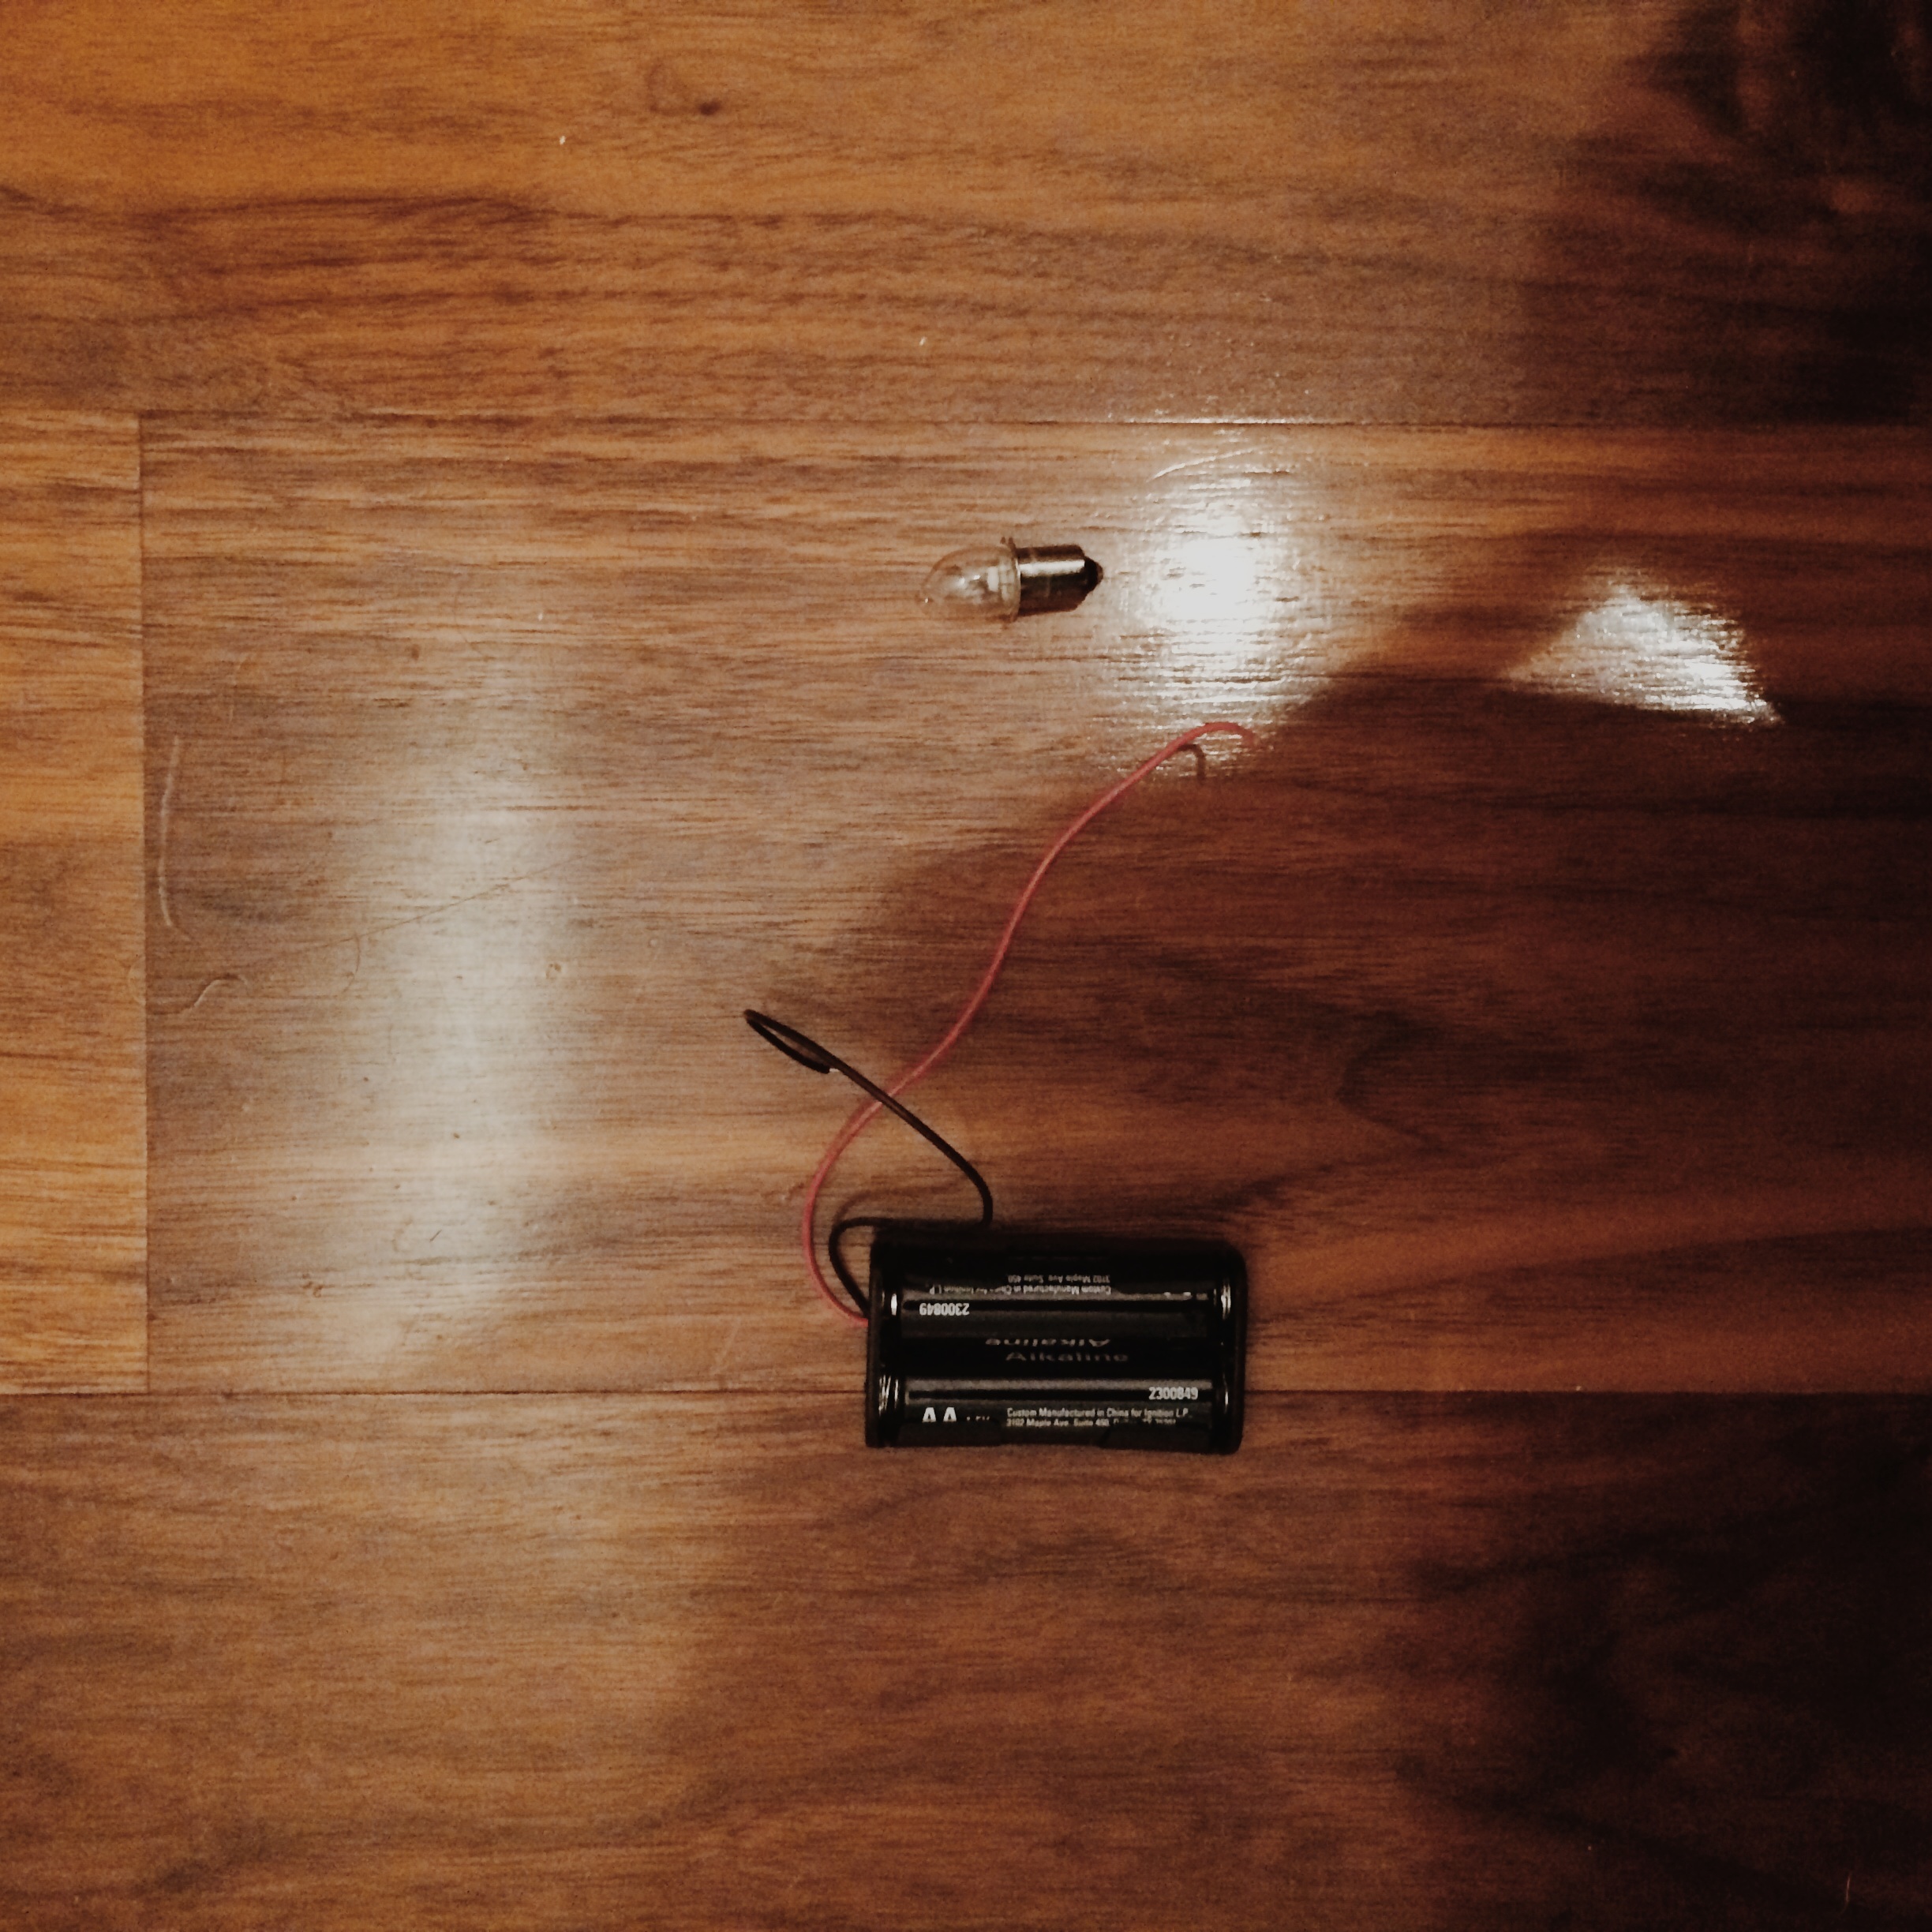
From there, I had to get the parts I needed. A shopping list was put together as seen in the right side of the image above. After a trip to Radio Shack and Home Depot, I distilled the needed components for the circuit portion of the flashlight as in the following photo.
I chose to go with a bulb (in this case a 2.2V bulb) instead of an LED because I felt that it will be easier to handle, tape, etc., and because to me it is aesthetically much more pleasing.
My next step was to “assemble” the circuit, which in my case meant to use electric tape generously to get to a stage where I can see some sort of lighting.
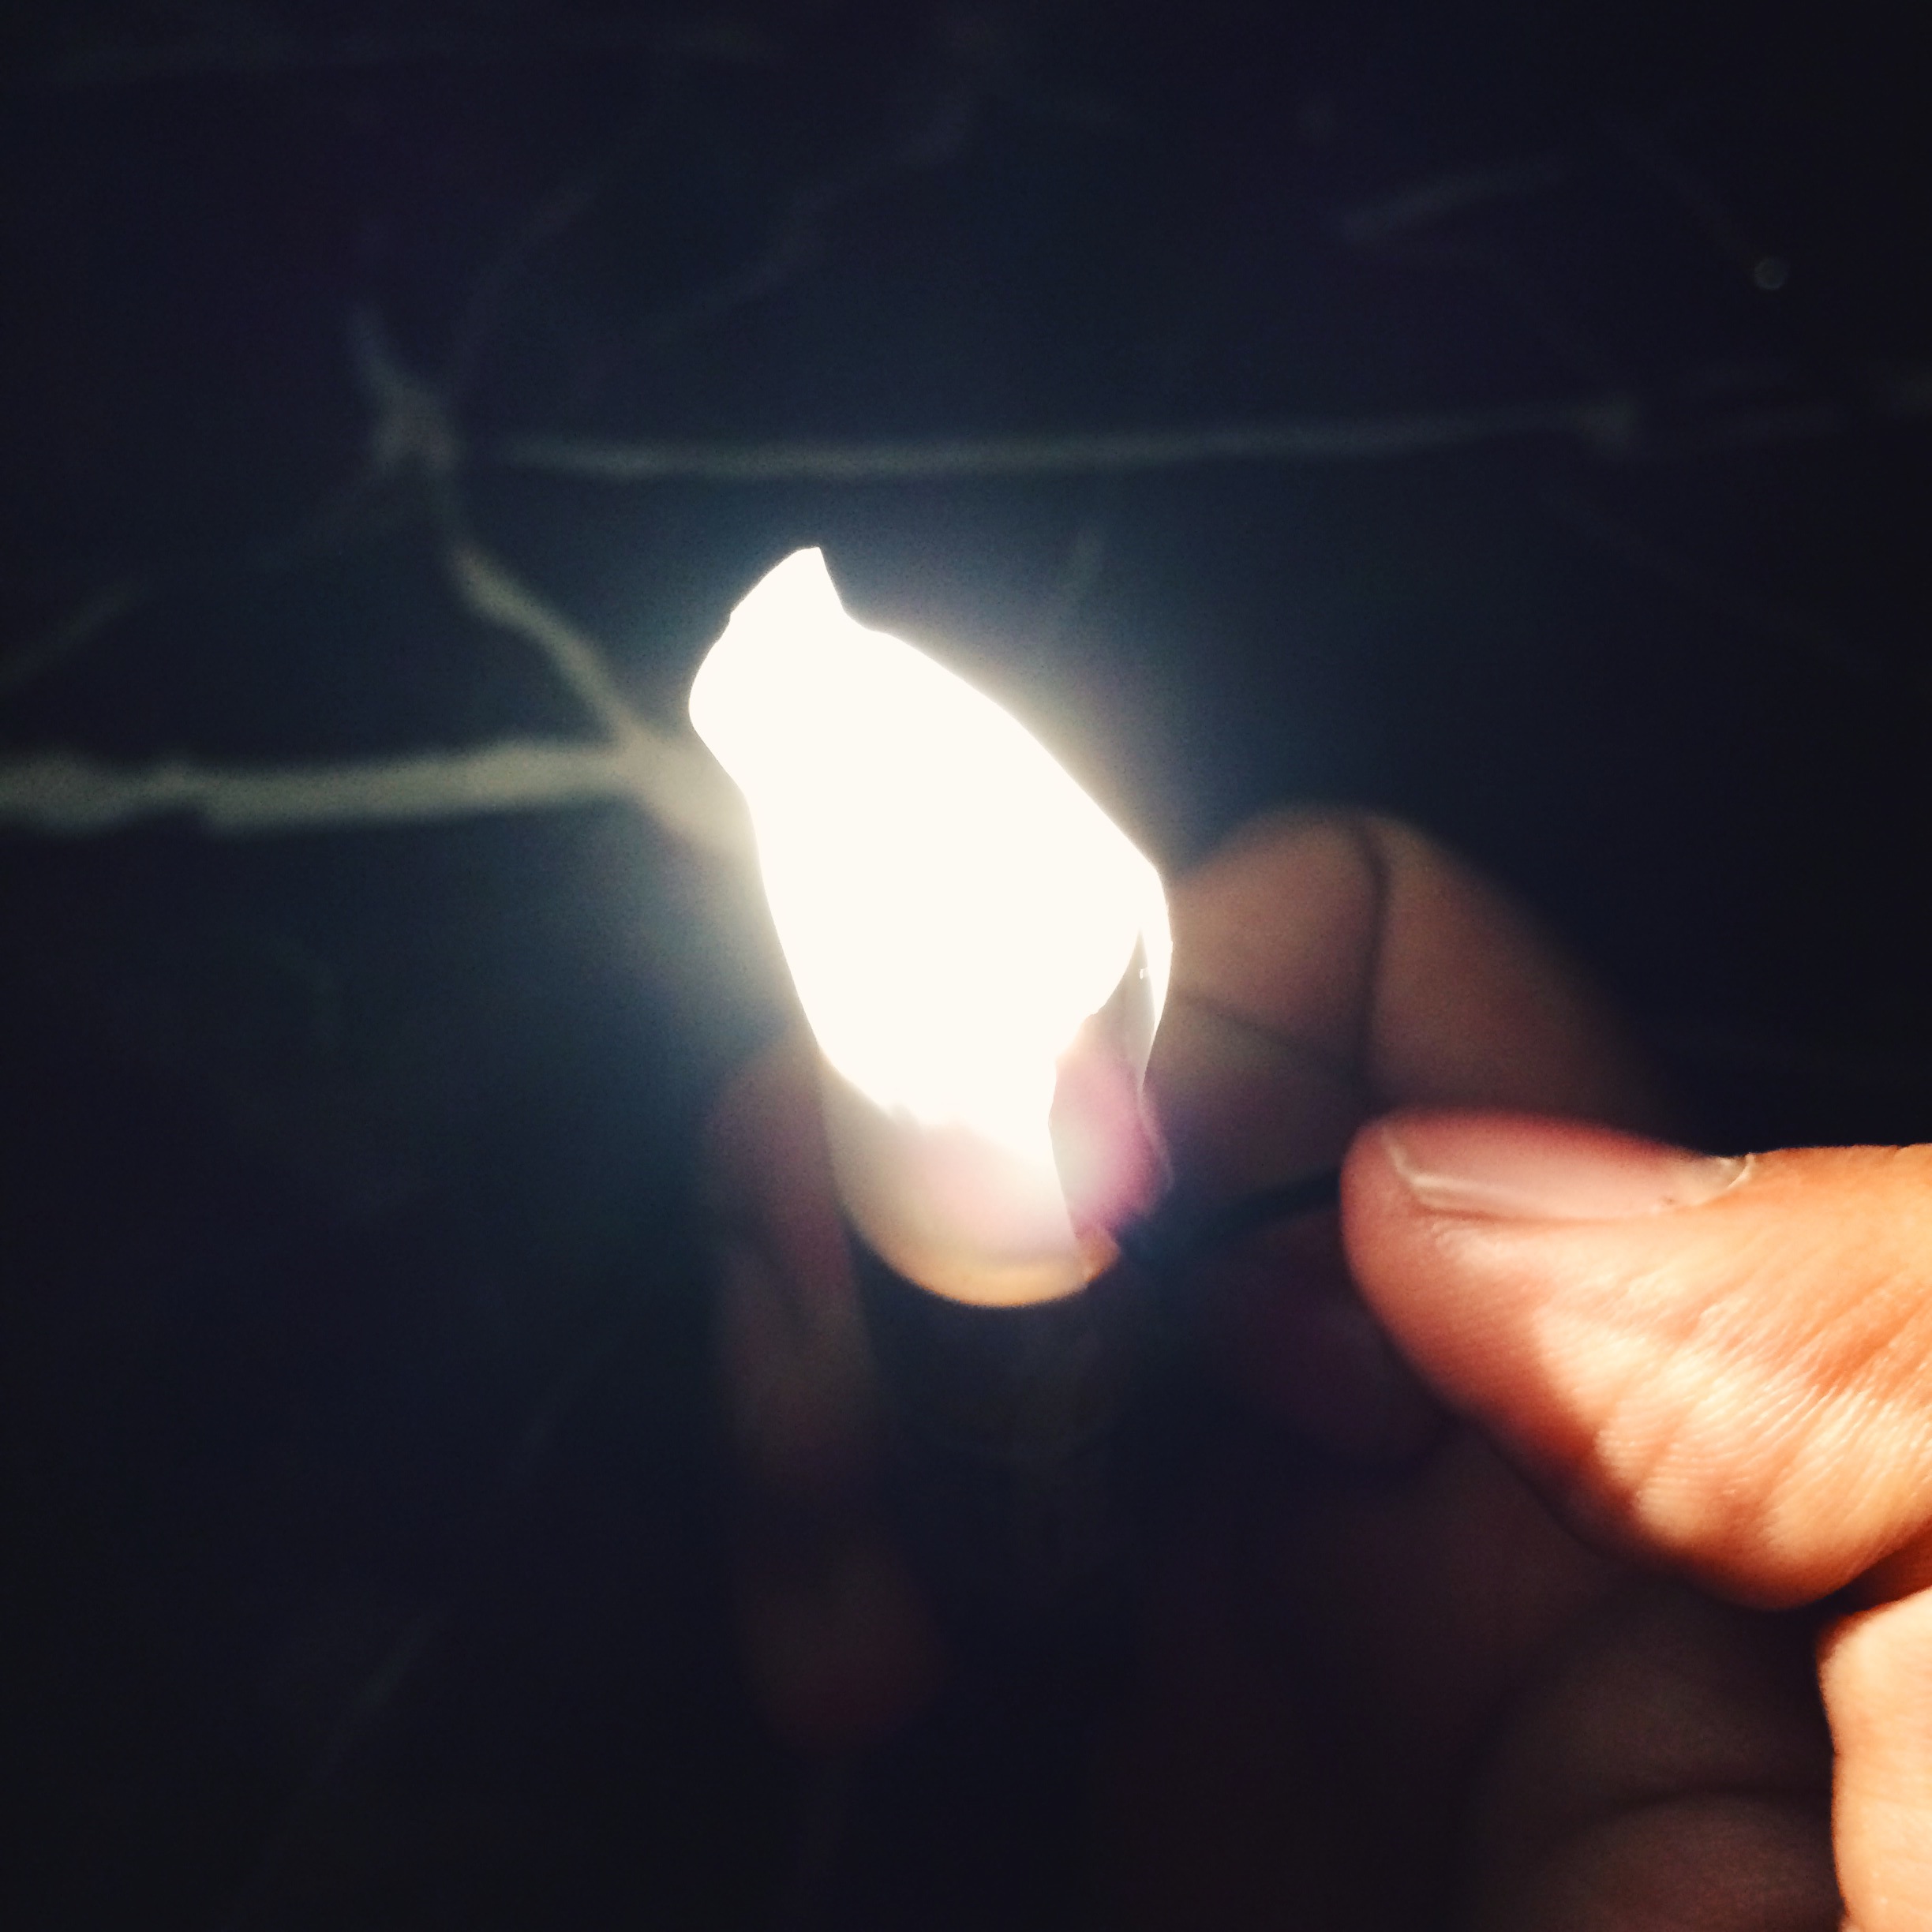
It worked. I had to note that the bottom battery has to be sufficiently supported below to ensure that the wire touching it is in contact with the surface.
My next steps were to design the enclosing body.
However, Ben kindly directed me below to use some sort of a battery holder. I happened to have one in hand, and the “circuit” has been remade to accommodate it.
For the enclosure, I started by experimenting with my new found ability of drilling holes into wood. I just wanted to get a feel for it.
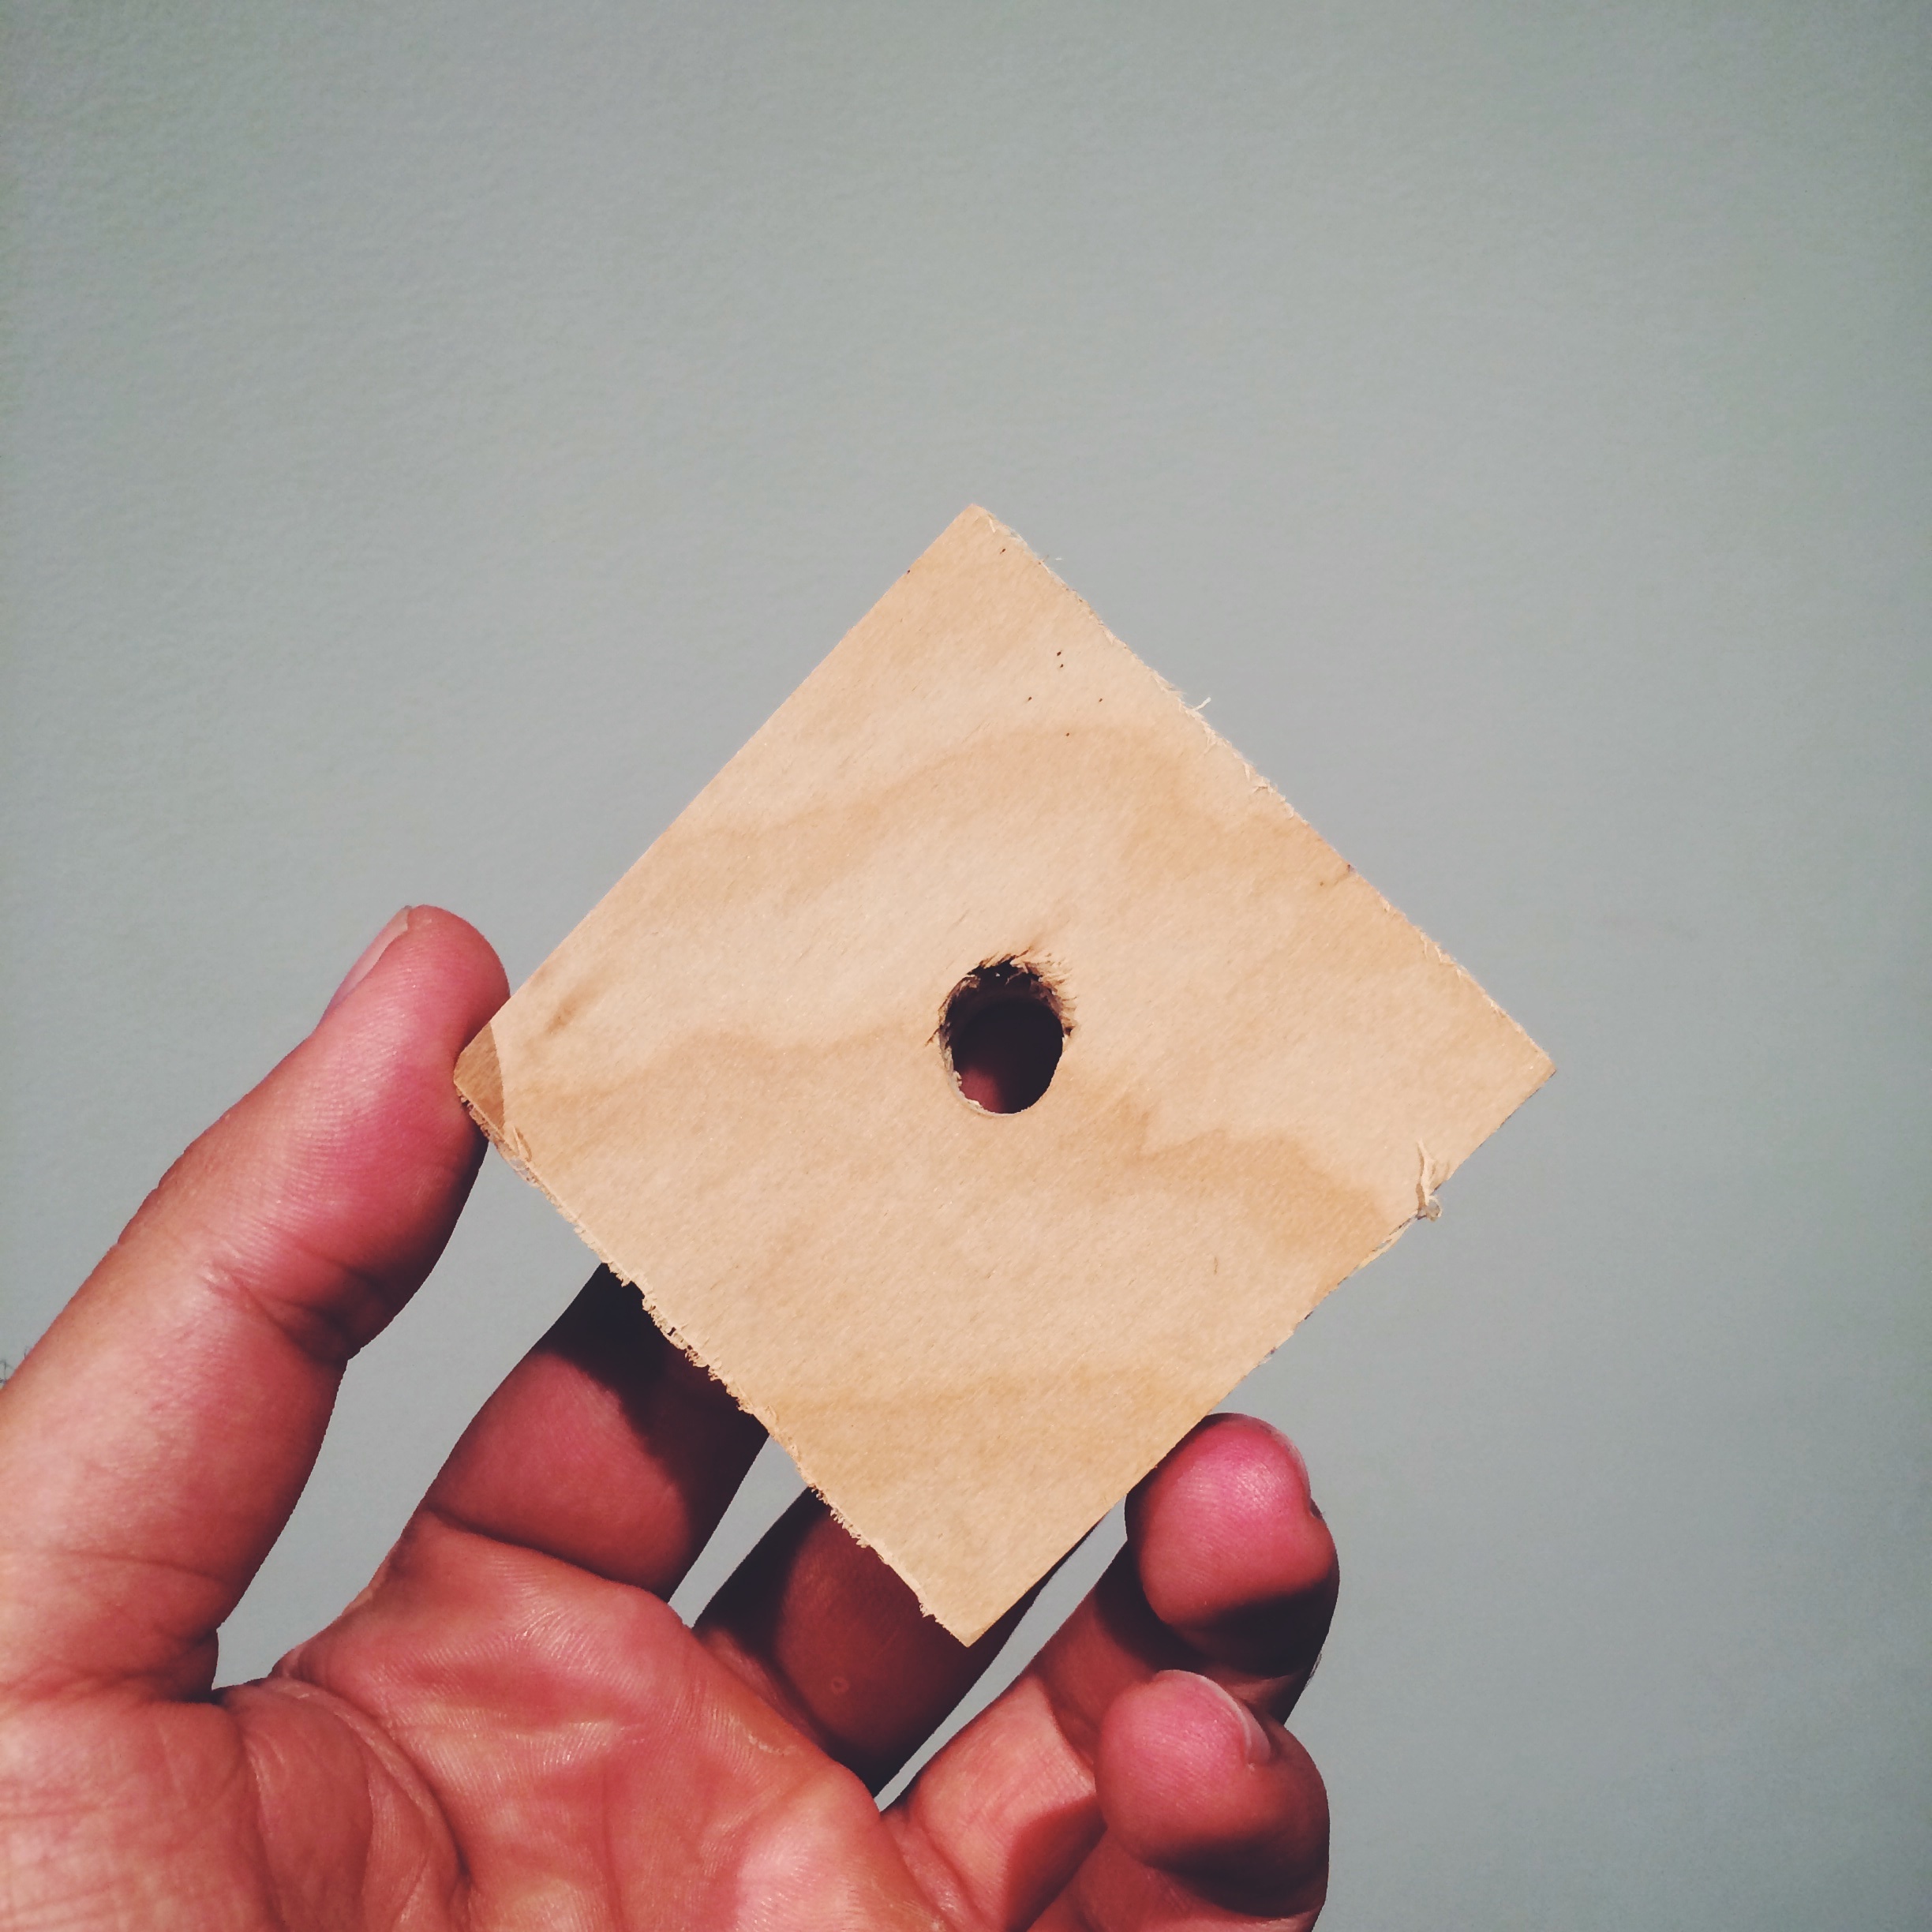
Then I proceeded to measure the two holes I need to drill to: hold the bulb, and allow one of the wires to selectively switch the light on and off.
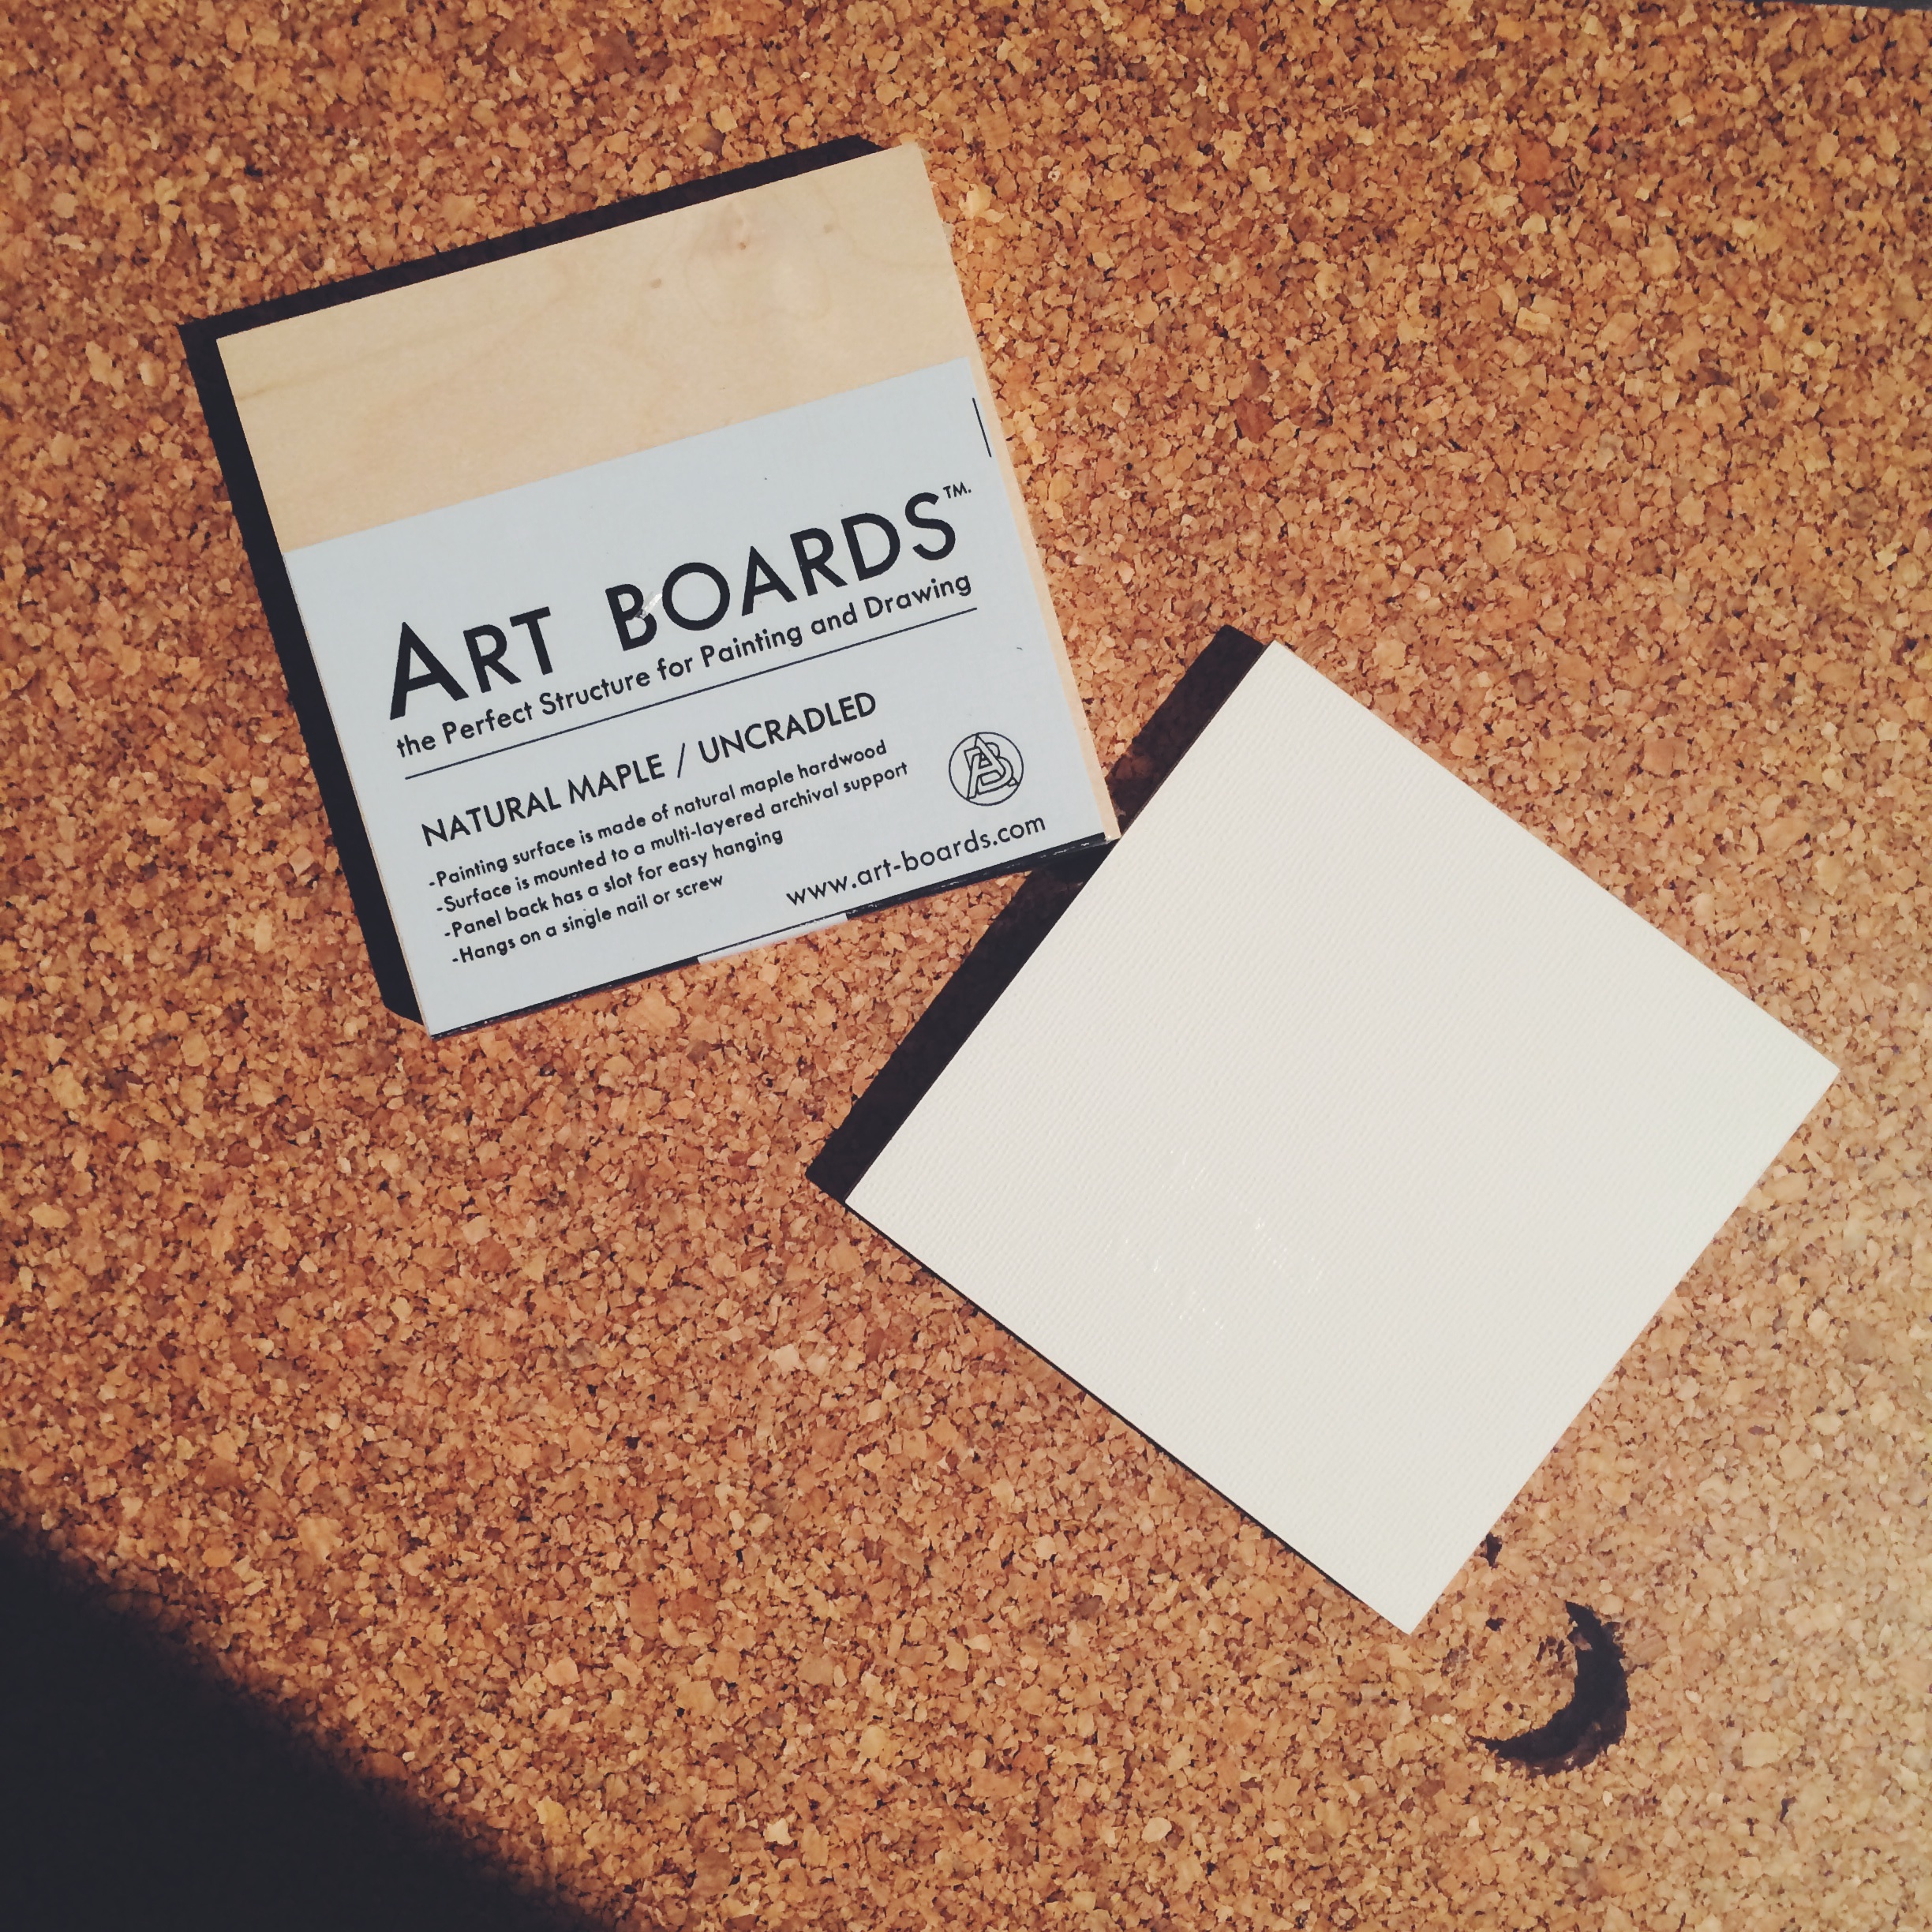
I decided to use maple wood pieces sold as canvas boards in art supply stores. I opted to go with them because of their availability in different sizes (I am not yet confident enough to cut large wood pieces into smaller ones), as well as their smooth, occasionally painted finishing.
I used standard 3/8 and 1/8 drill bits to drill holes in a particular wood piece that was glued to smaller wood pieces at each edge to form a hollow cube.
I glued the battery holder on another piece of wood that had the same dimensions as the faces of the cube piece.
I then taped the red wire generously to ensure that it touches the base of the bulb.
The below assembled flashlight (now more of a rustic table lamp, really. But it does fulfill the basic criteria for a flashlight, one can argue. It is portable, and is battery powered).

The switch mechanism is very basic (non-existent really), but it does light up. so I’m grateful.
Leave a Reply